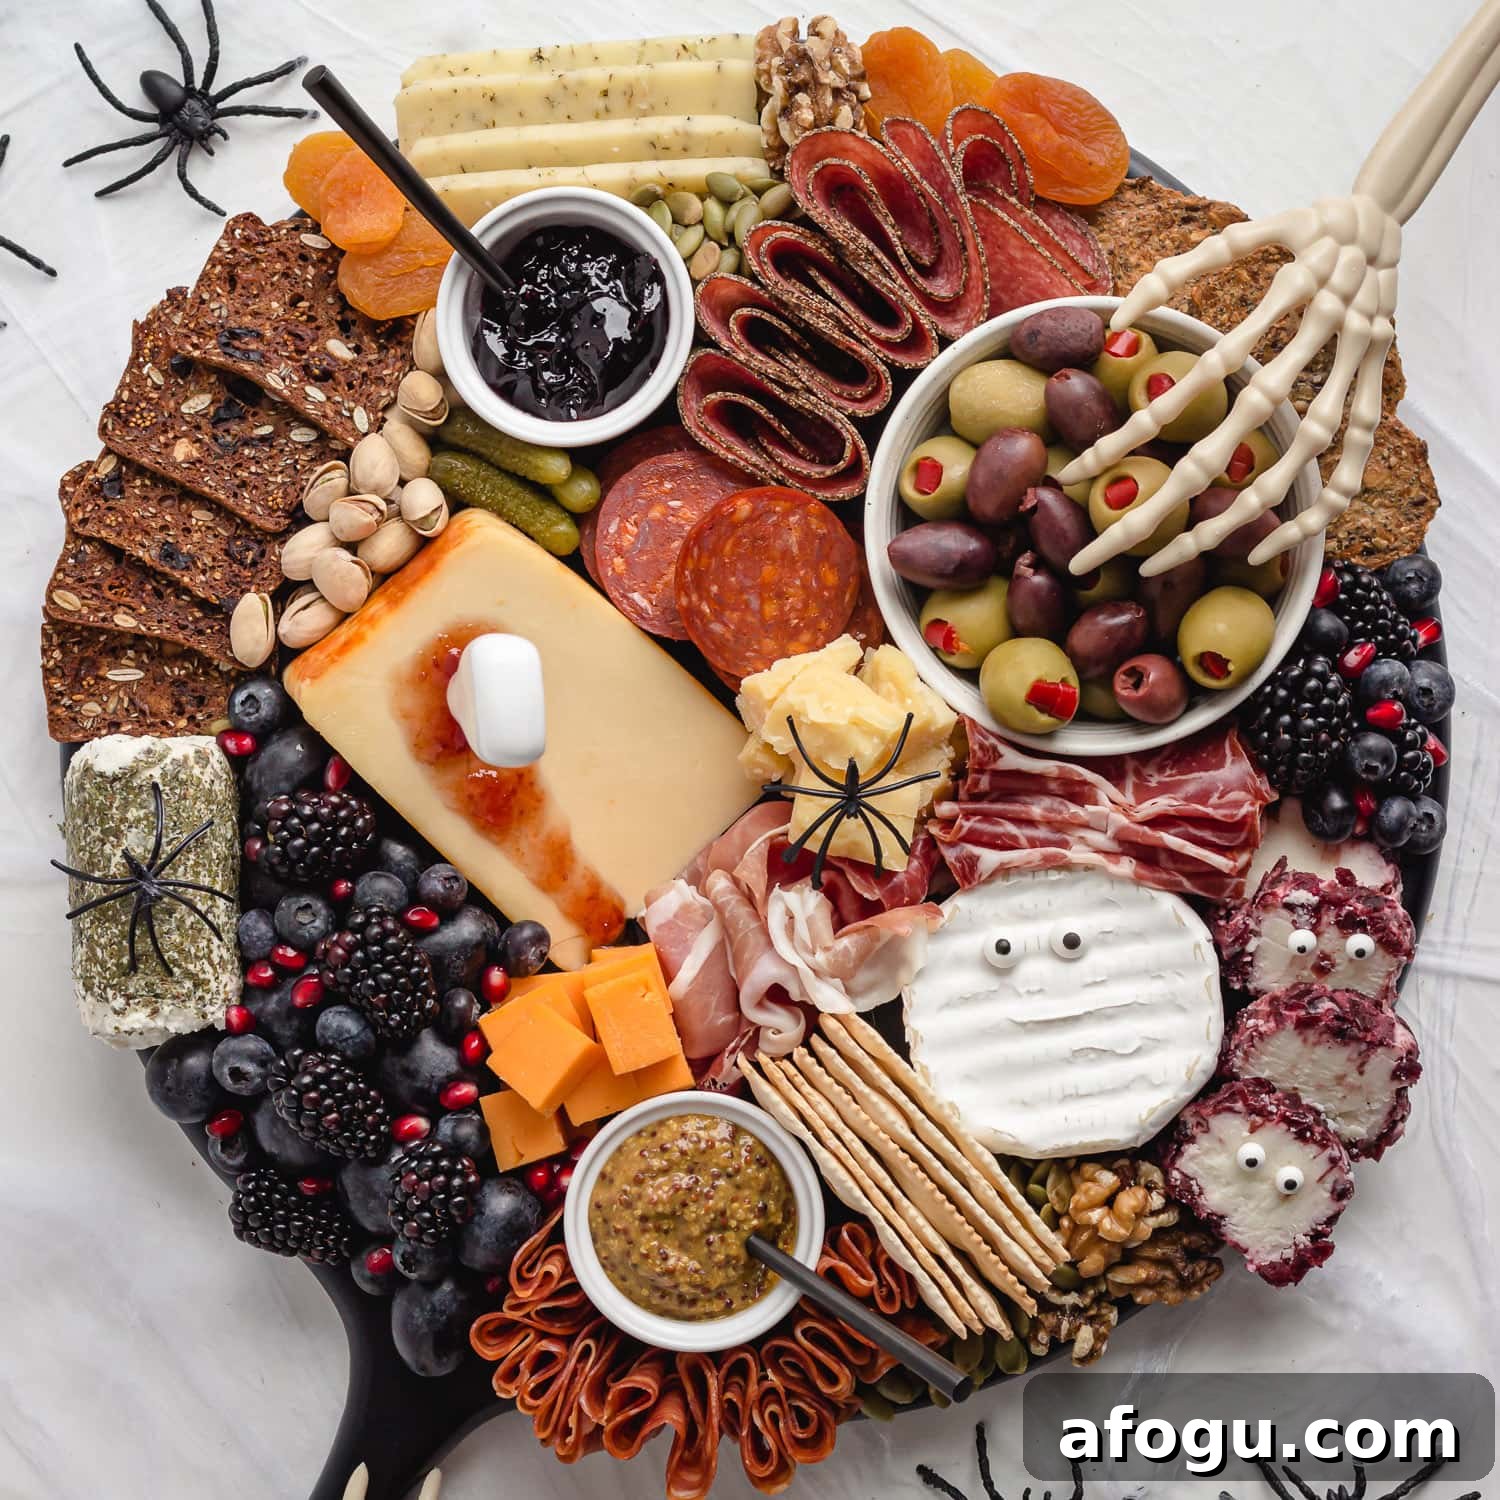
This spooky Halloween charcuterie board is an easy, impressive appetizer or snack for the season. There’s no cooking involved—just arrange your favorite cheeses, meats, fruits and treats for a fun and festive spread. Below you’ll find step-by-step assembly tips, ingredient ideas, styling suggestions, and additional Halloween board inspirations.
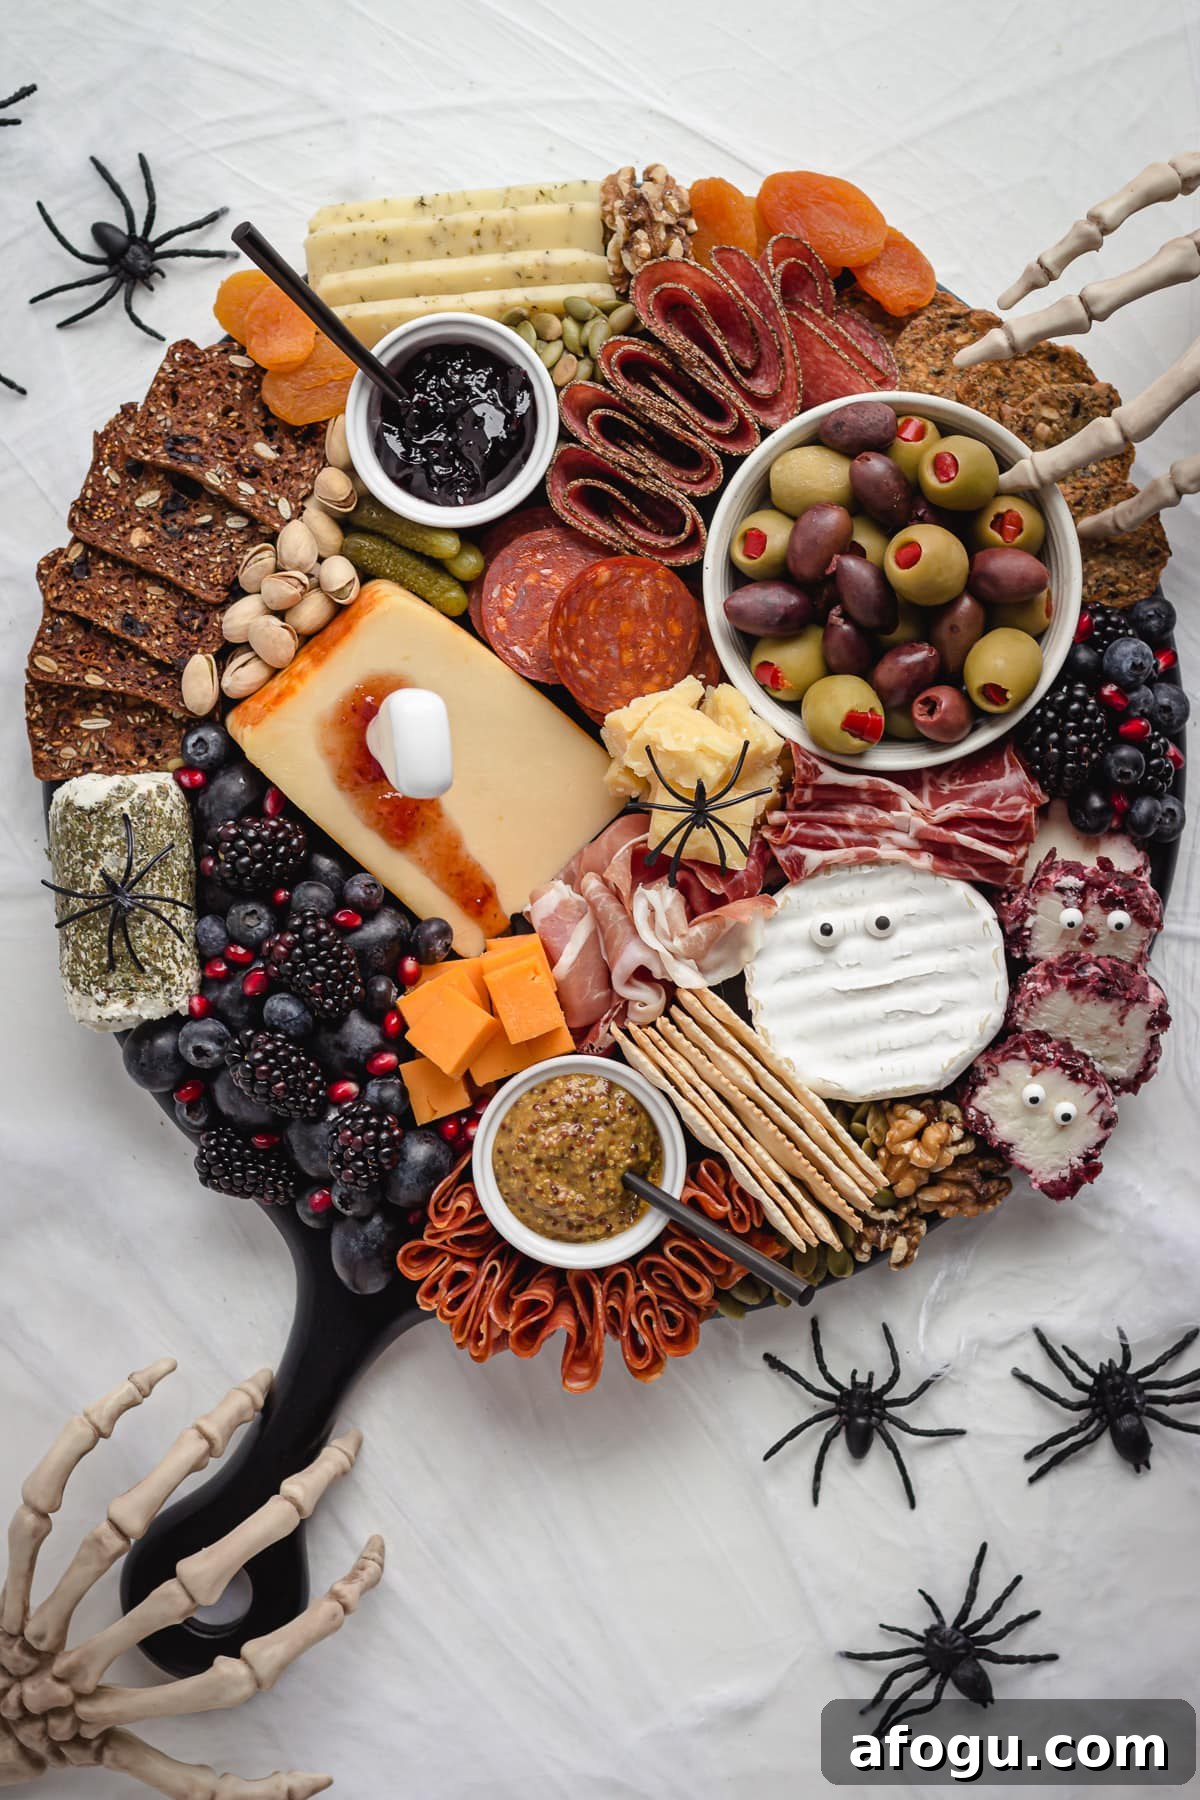
Why make a spooky charcuterie board for Halloween
- Easy to make: No cooking—just arrange. It’s a quick appetizer everyone will enjoy.
- Great for parties: Works perfectly as a Halloween party appetizer or snack table centerpiece.
- Fun and flexible: Ideal for movie night, a casual gathering, or as part of a Halloween dinner menu.
- Customizable: Scale it up or down and pick ingredients you love, then add spooky accents for the theme.
How to make an easy Halloween charcuterie board
Charcuterie is a crowd-pleaser—this version adds playful Halloween details without extra fuss. Assemble your board in stages to get a balanced, eye-catching display.
What you’ll need
- Base: Use a charcuterie or cheese board if you have one. Otherwise a wooden cutting board, serving platter, tray, baking sheet or even a strip of parchment on your table works well.
- Small dishes: Small bowls or ramekins are helpful for olives, pickles, preserves and wet items.
- Ingredients: Gather a mix of cheeses, cured meats, crackers, fruit, vegetables, nuts/seeds and spreads. Add a few Halloween-colored items and edible decorations to reinforce the theme.
Assembling the board
Follow these simple steps to build a balanced and festive board:
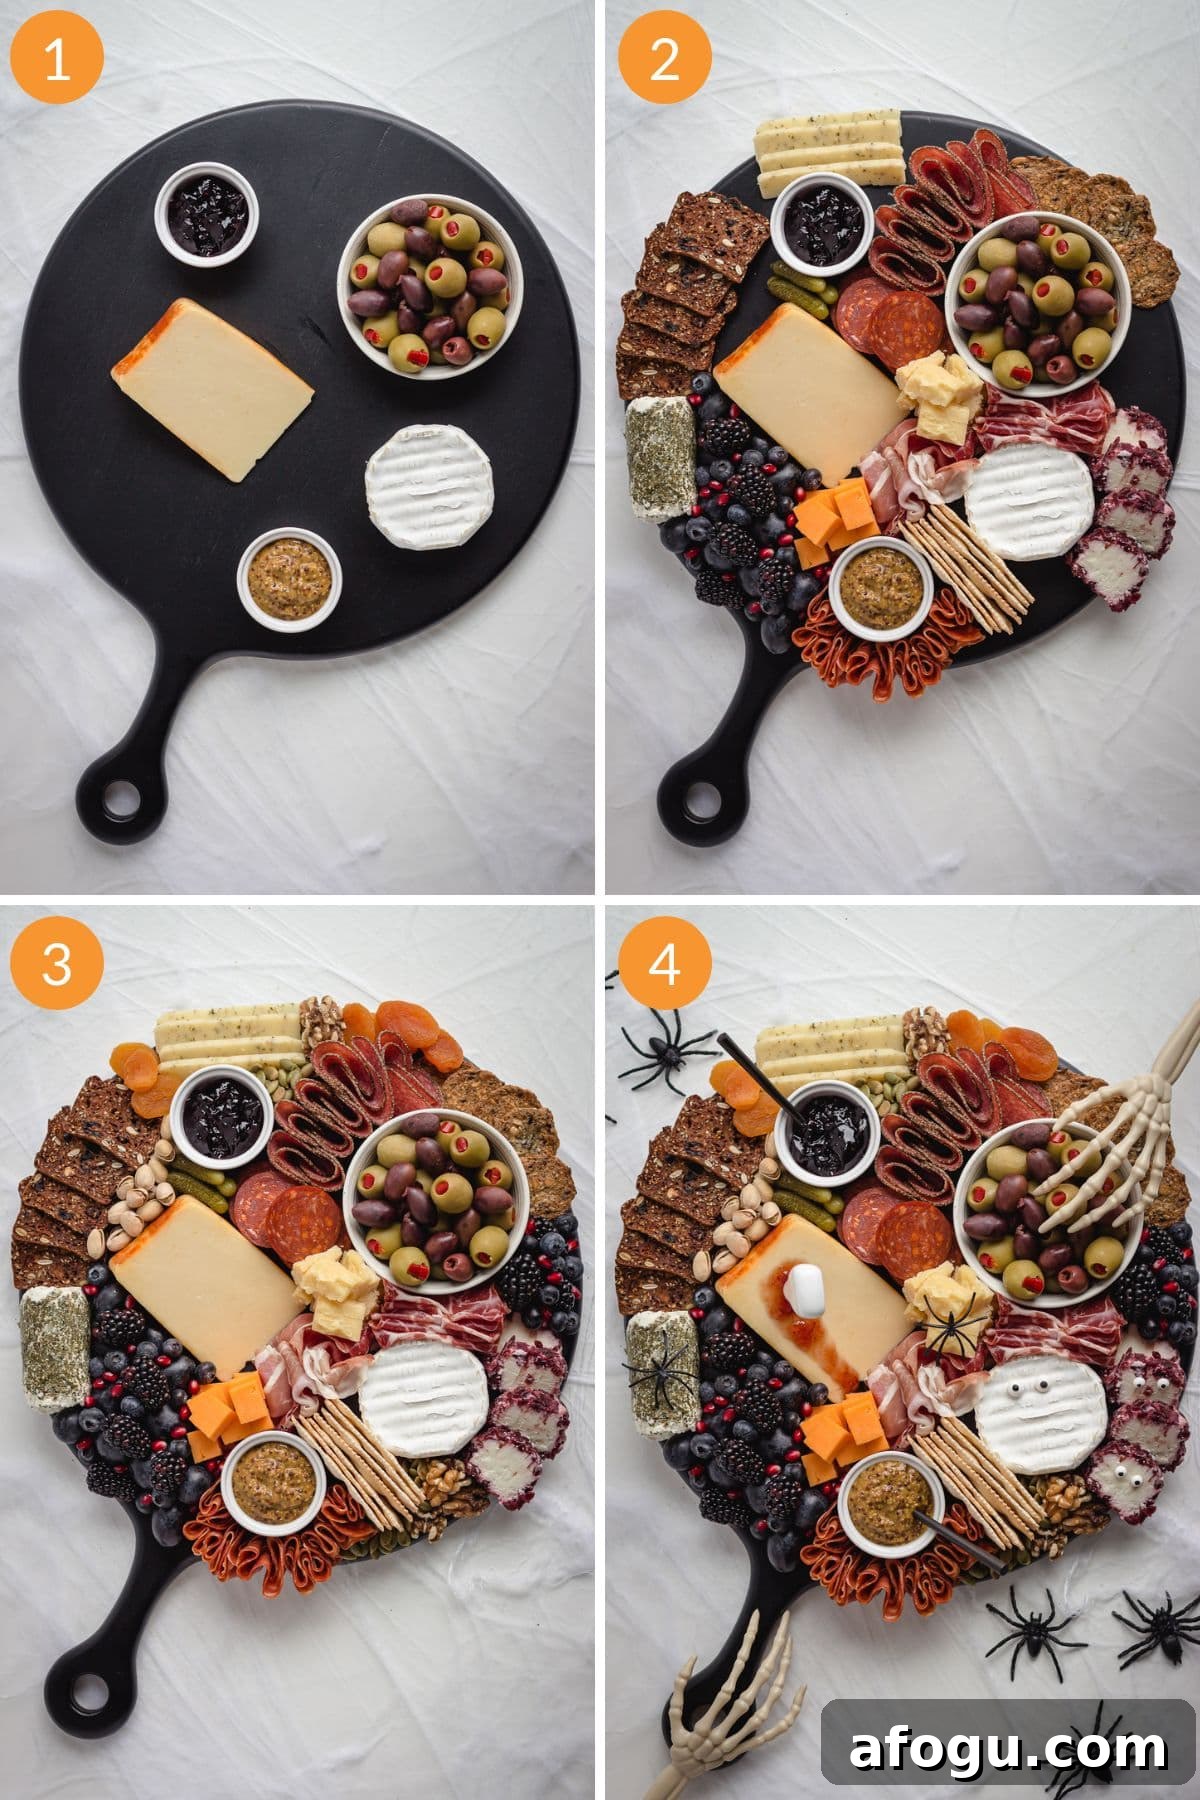
- Place larger items first—bowls, large cheese wedges and any larger decor pieces.
- Fill the spaces with crackers, meats, cut cheeses, fruit and themed treats.
- Use nuts, seeds and berries to fill gaps and add texture.
- Finish with spooky accents like plastic spiders, candy eyeballs or skeleton hands for effect.
A few tips
- Work from large to small so you can fill gaps efficiently at the end.
- Vary shapes and sizes—fold, roll or stack meats; slice, cube or crumble cheeses. Use cookie cutters for themed shapes.
- Don’t stress about matching photos. Pick ingredients you enjoy and focus on a Halloween color palette and a few fun props.
What to put on a Halloween charcuterie board
Offer a variety of textures and flavors: cheeses, cured meats, crackers, fruits, vegetables, nuts, and spreads. To make the board feel Halloween-y, use colors like black, orange, purple, red, green and white and add a few themed elements.
Ingredient ideas
- Cheese: Mix hard and soft cheeses. Look for orange, white or visually interesting varieties (smoked cheddar, brie, goat cheese, gouda, etc.).
- Cured meats: Prosciutto, salami, chorizo and bresaola add rich color and flavor.
- Crackers: Provide a few different crackers or sliced baguette for variety.
- Fruit: Grapes, blackberries, blueberries, figs, dried apricots and pomegranate seeds work well both in color and texture.
- Veggies: Olives, cornichons, roasted peppers, carrots and bell pepper slices.
- Nuts & seeds: Use walnuts, almonds, pistachios and pumpkin seeds to fill small spaces and add crunch.
- Preserves & spreads: Small bowls of jams, honey, mustard or tapenade pair nicely with cheese and meats.
- Spooky edible additions: Candy eyeballs, shaped cheese or fruit cut with cookie cutters, Halloween-themed cookies, candy corn, gummy worms or chocolate pumpkins.
- Decorations: Non-edible props like skeleton hands, plastic spiders or a small cobweb under the board complete the look—use these sparingly and keep food-safe items separate.
An example board
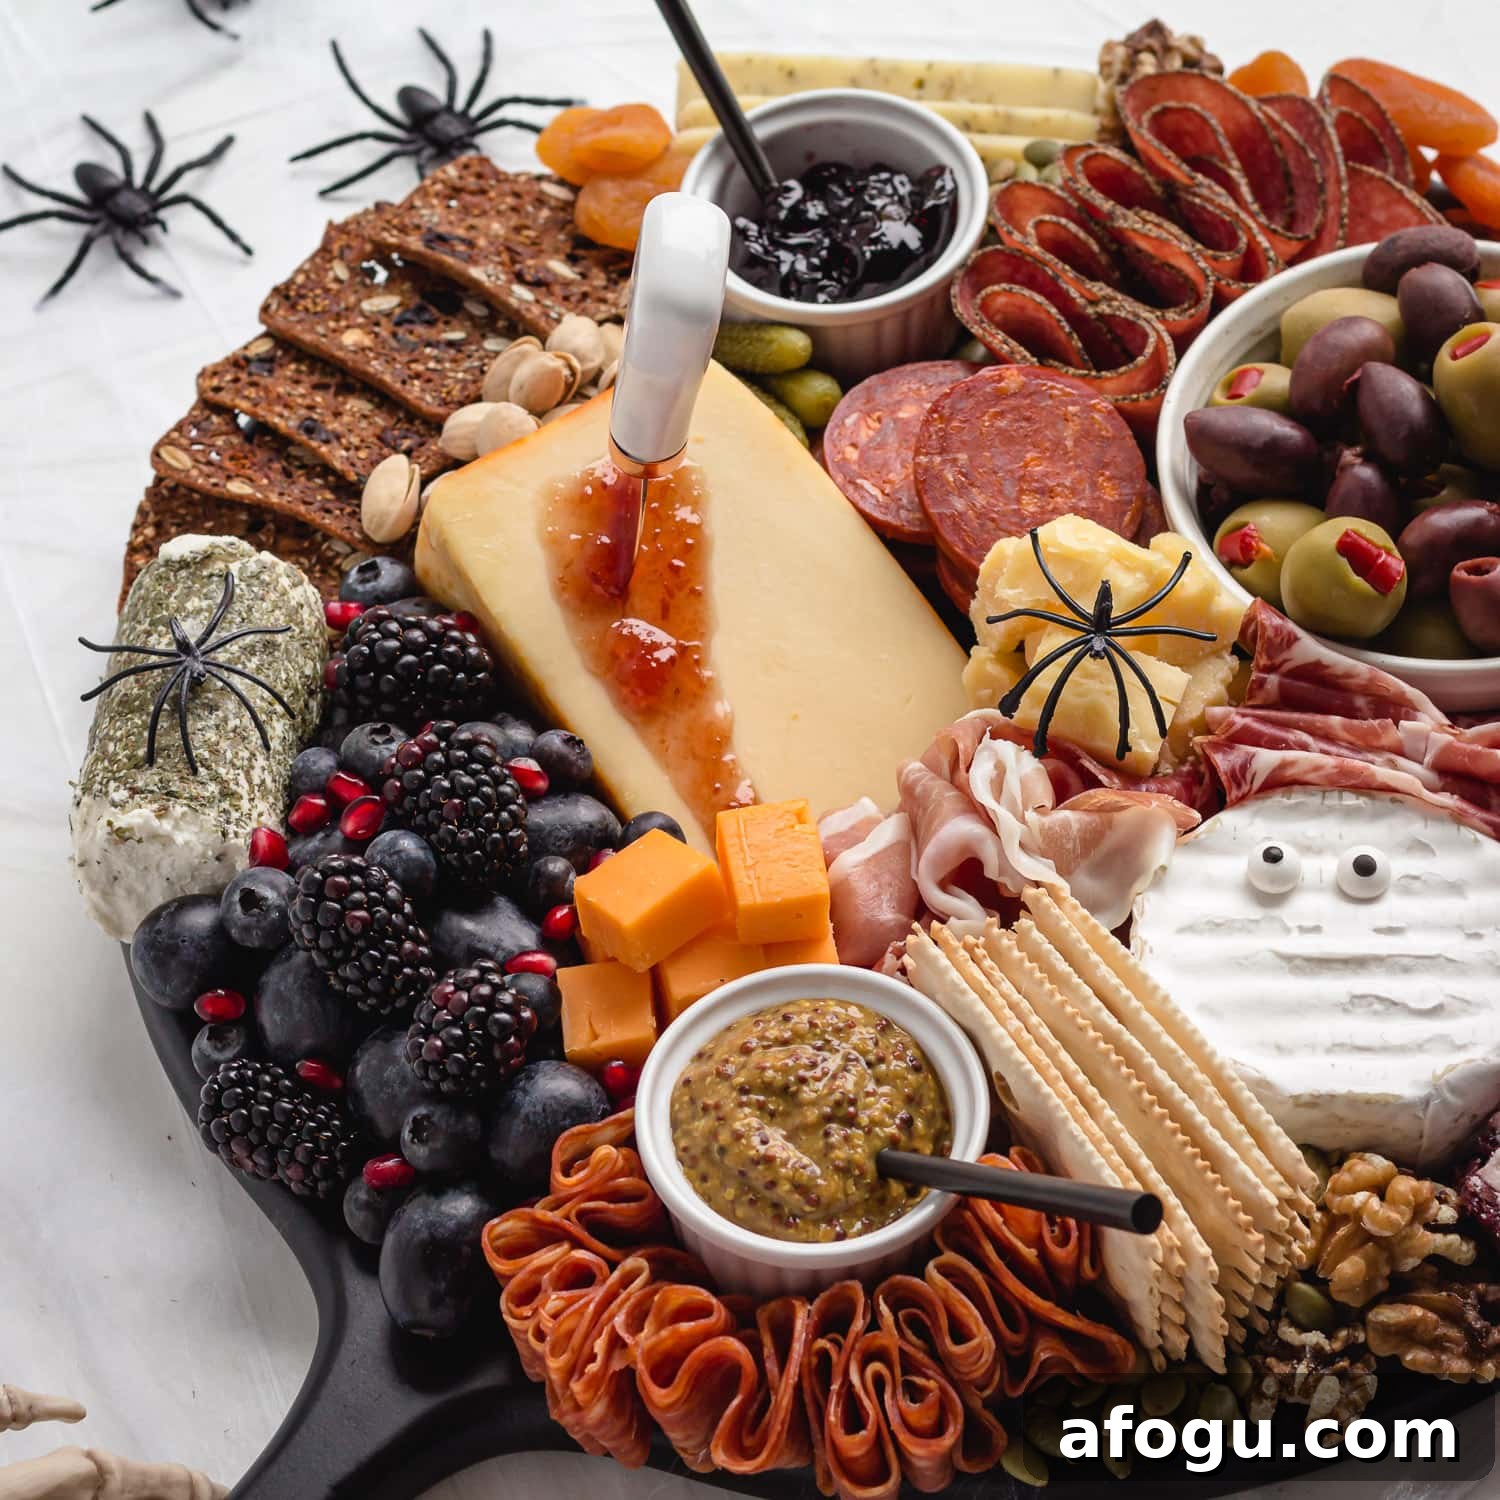
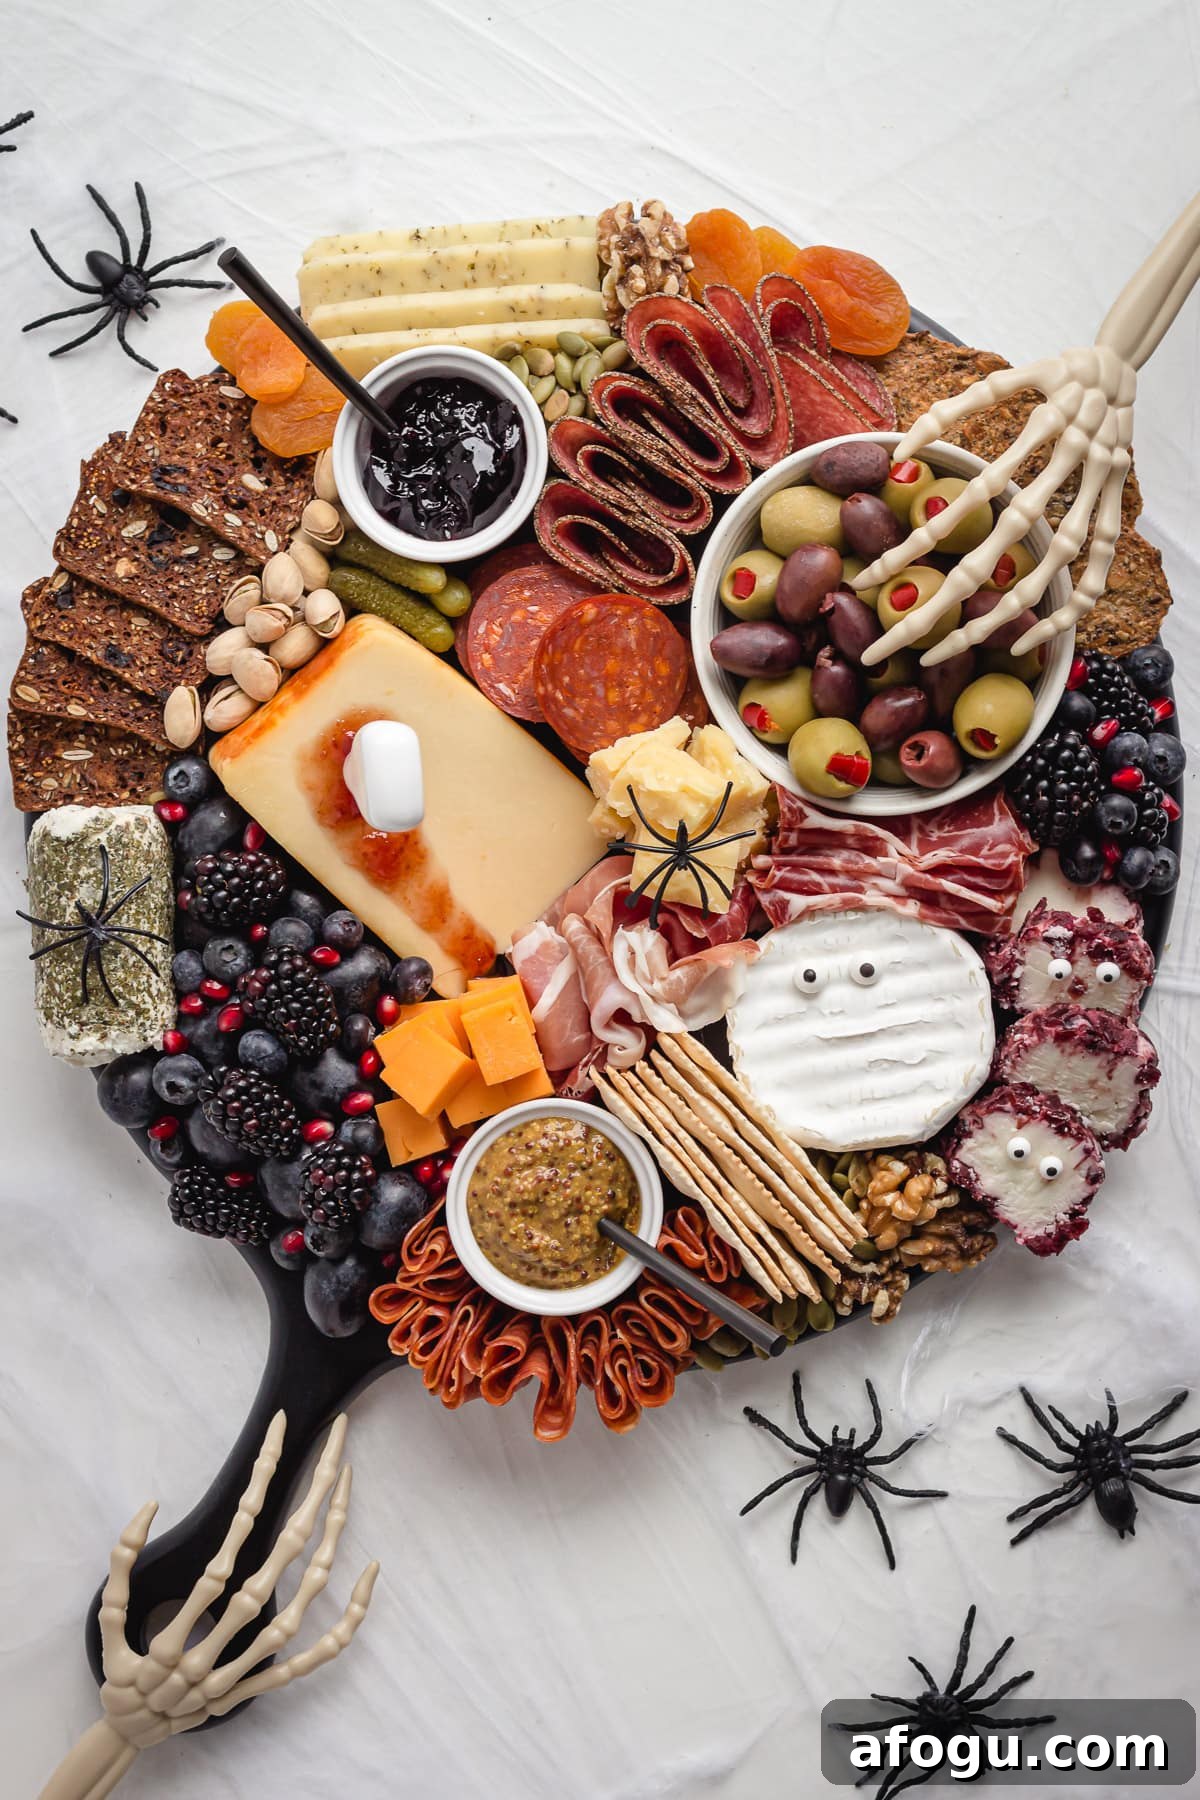
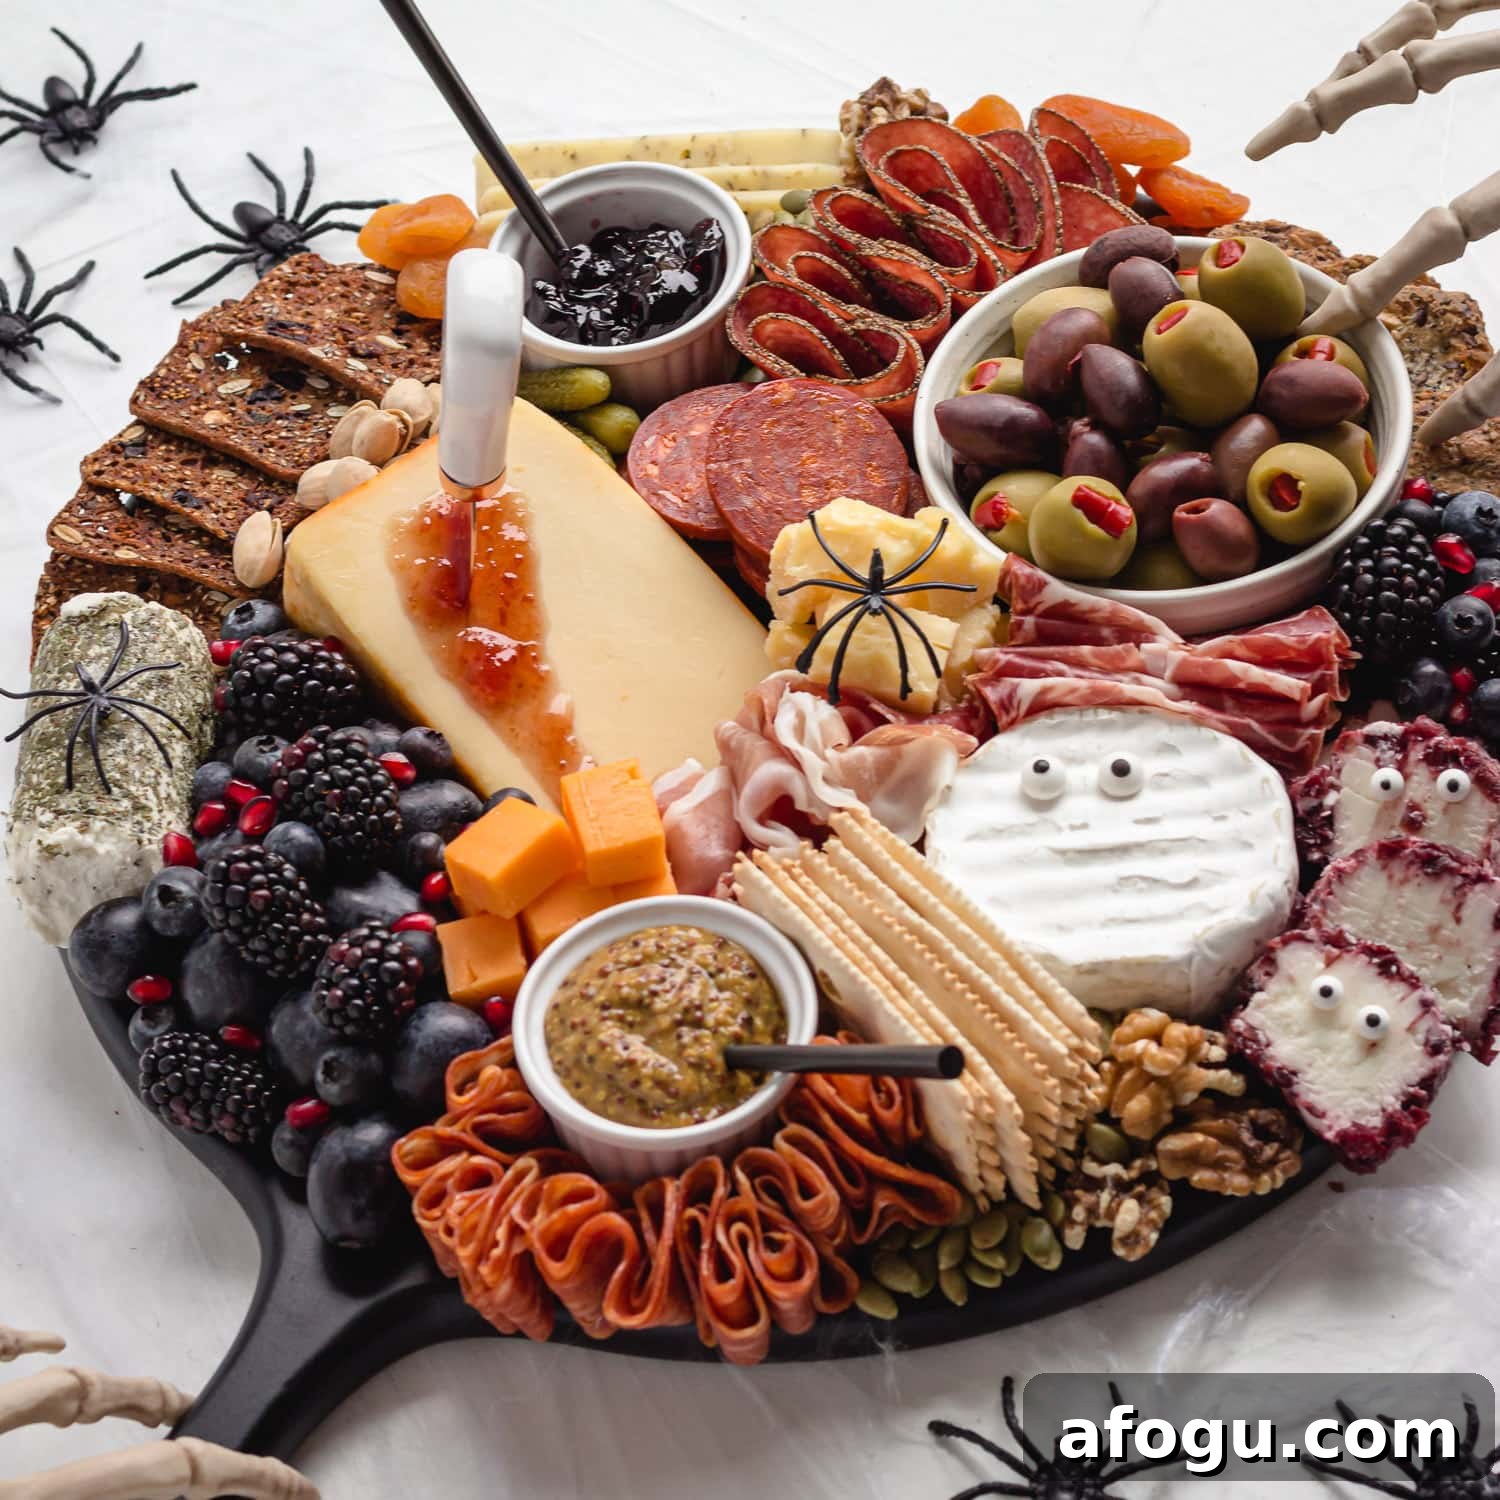
One assembled board used a mix like:
- Cheeses: smoked cheddar, brie, cranberry goat cheese, herb gouda, old cheddar and Dubliner.
- Meats: chorizo, pepper salami, Calabrese salami, prosciutto and coppa.
- Crackers: a few different flavored crackers and croccantini.
- Fruit & veg: black grapes, blackberries, blueberries, pomegranate arils, dried apricots, olives and cornichons.
- Nuts & seeds: walnuts, pumpkin seeds and pistachios.
- Condiments: stone-ground mustard and a wine jam for a dramatic “blood” effect on smoked cheddar.
- Spooky accents: candy eyeballs, plastic spiders, skeleton hands and a small knife with jam for a theatrical touch.
Use these suggestions as inspiration; feel free to swap in your favorites and tailor colors and textures to your taste.
More Halloween charcuterie board ideas
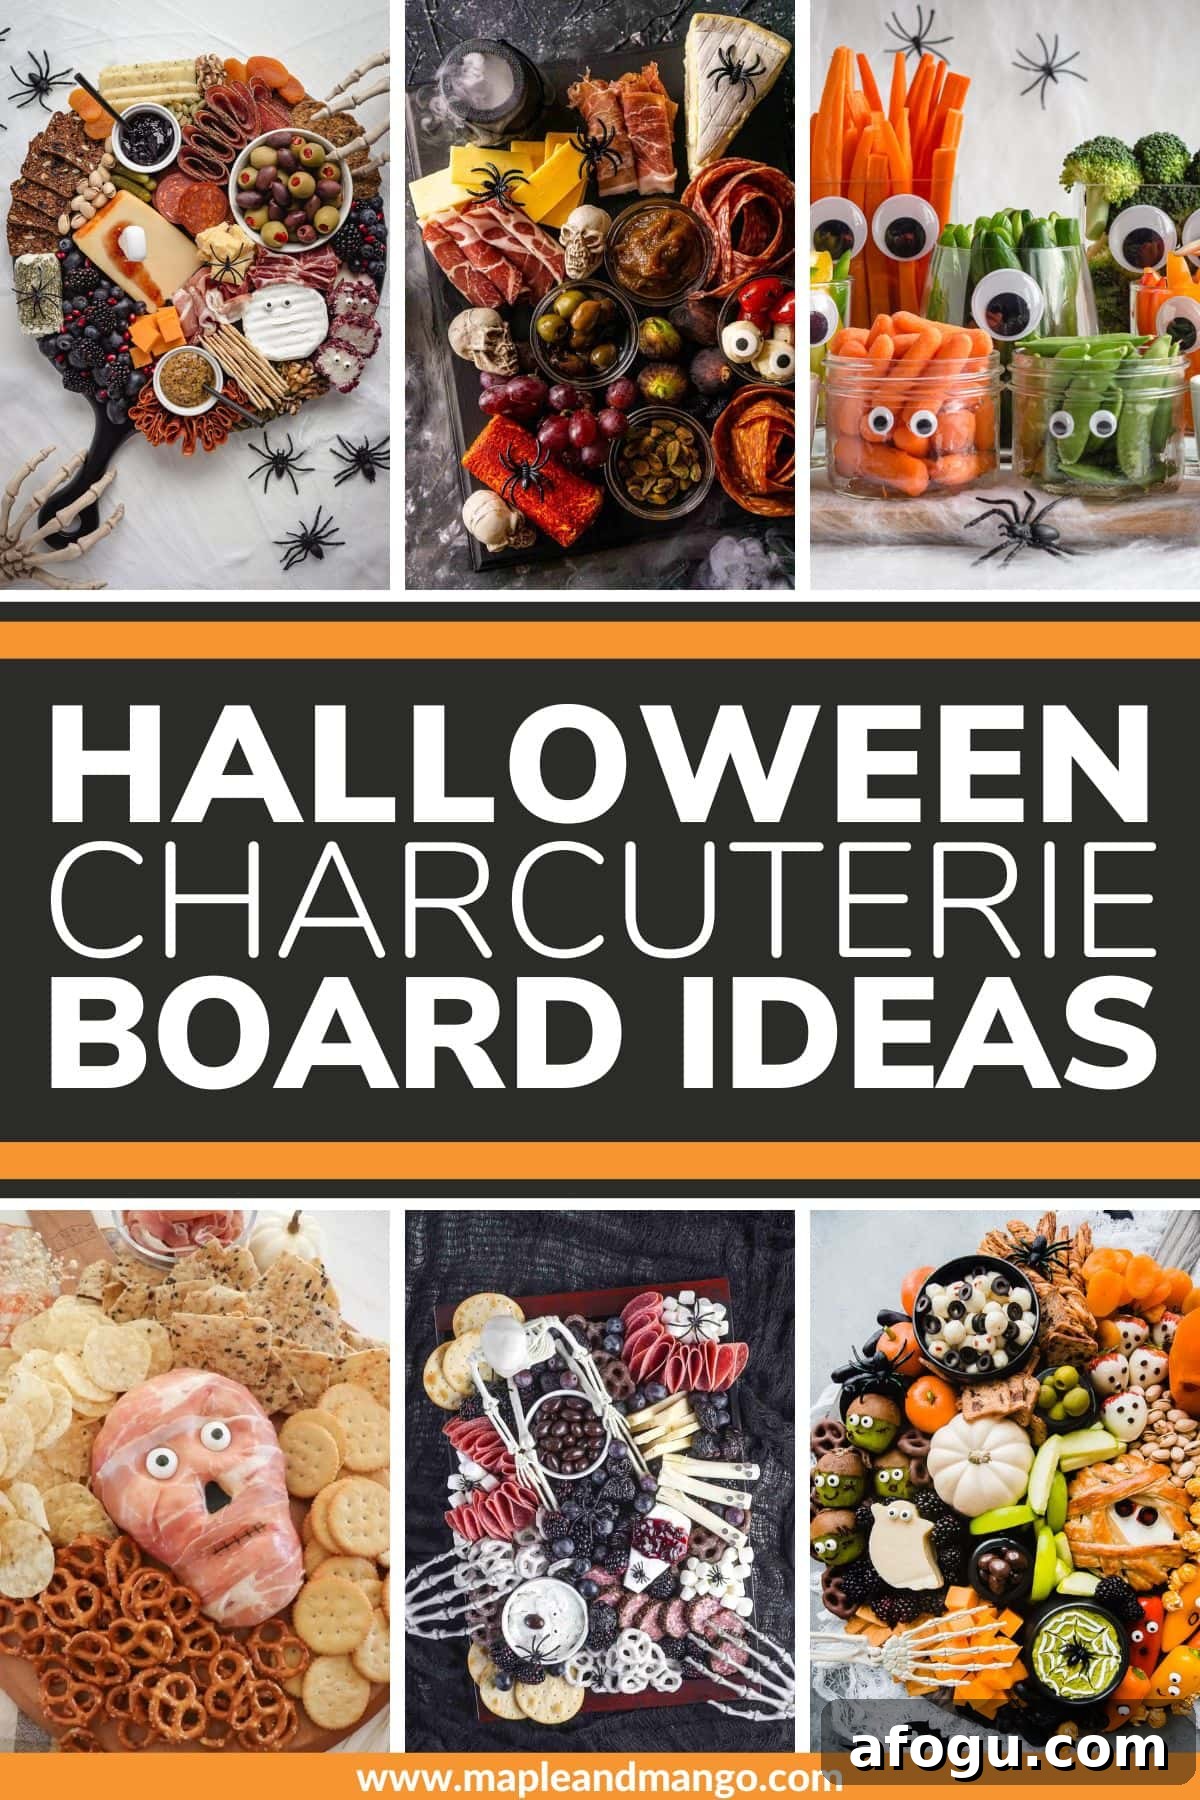
For additional styles and themes—creepy, cute, dessert-focused or whimsical—look to other Halloween boards for ideas like snack-style spreads, themed cheese balls, veggie trays and dessert boards. Mix and match concepts to create something unique.
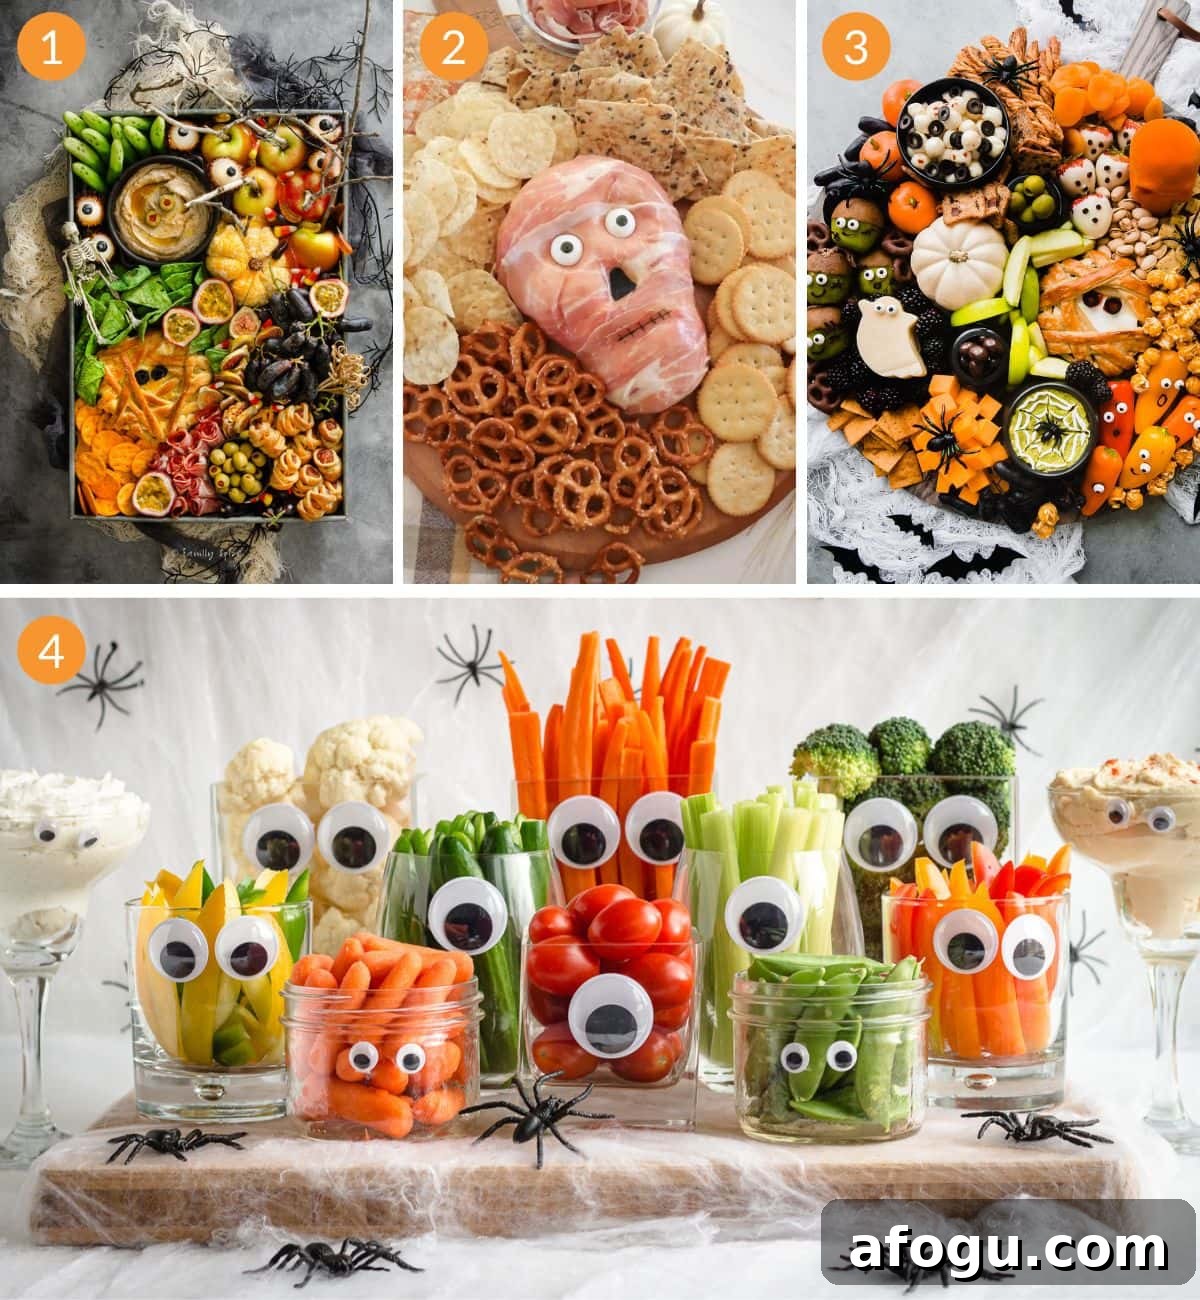
- Snack-style boards with candy and bite-sized treats.
- Themed cheese creations like spooky cheese balls or shaped cheddar mice.
- Veggie trays arranged into monsters or ghostly shapes.
- Dessert boards focused on sweets and Halloween confections.
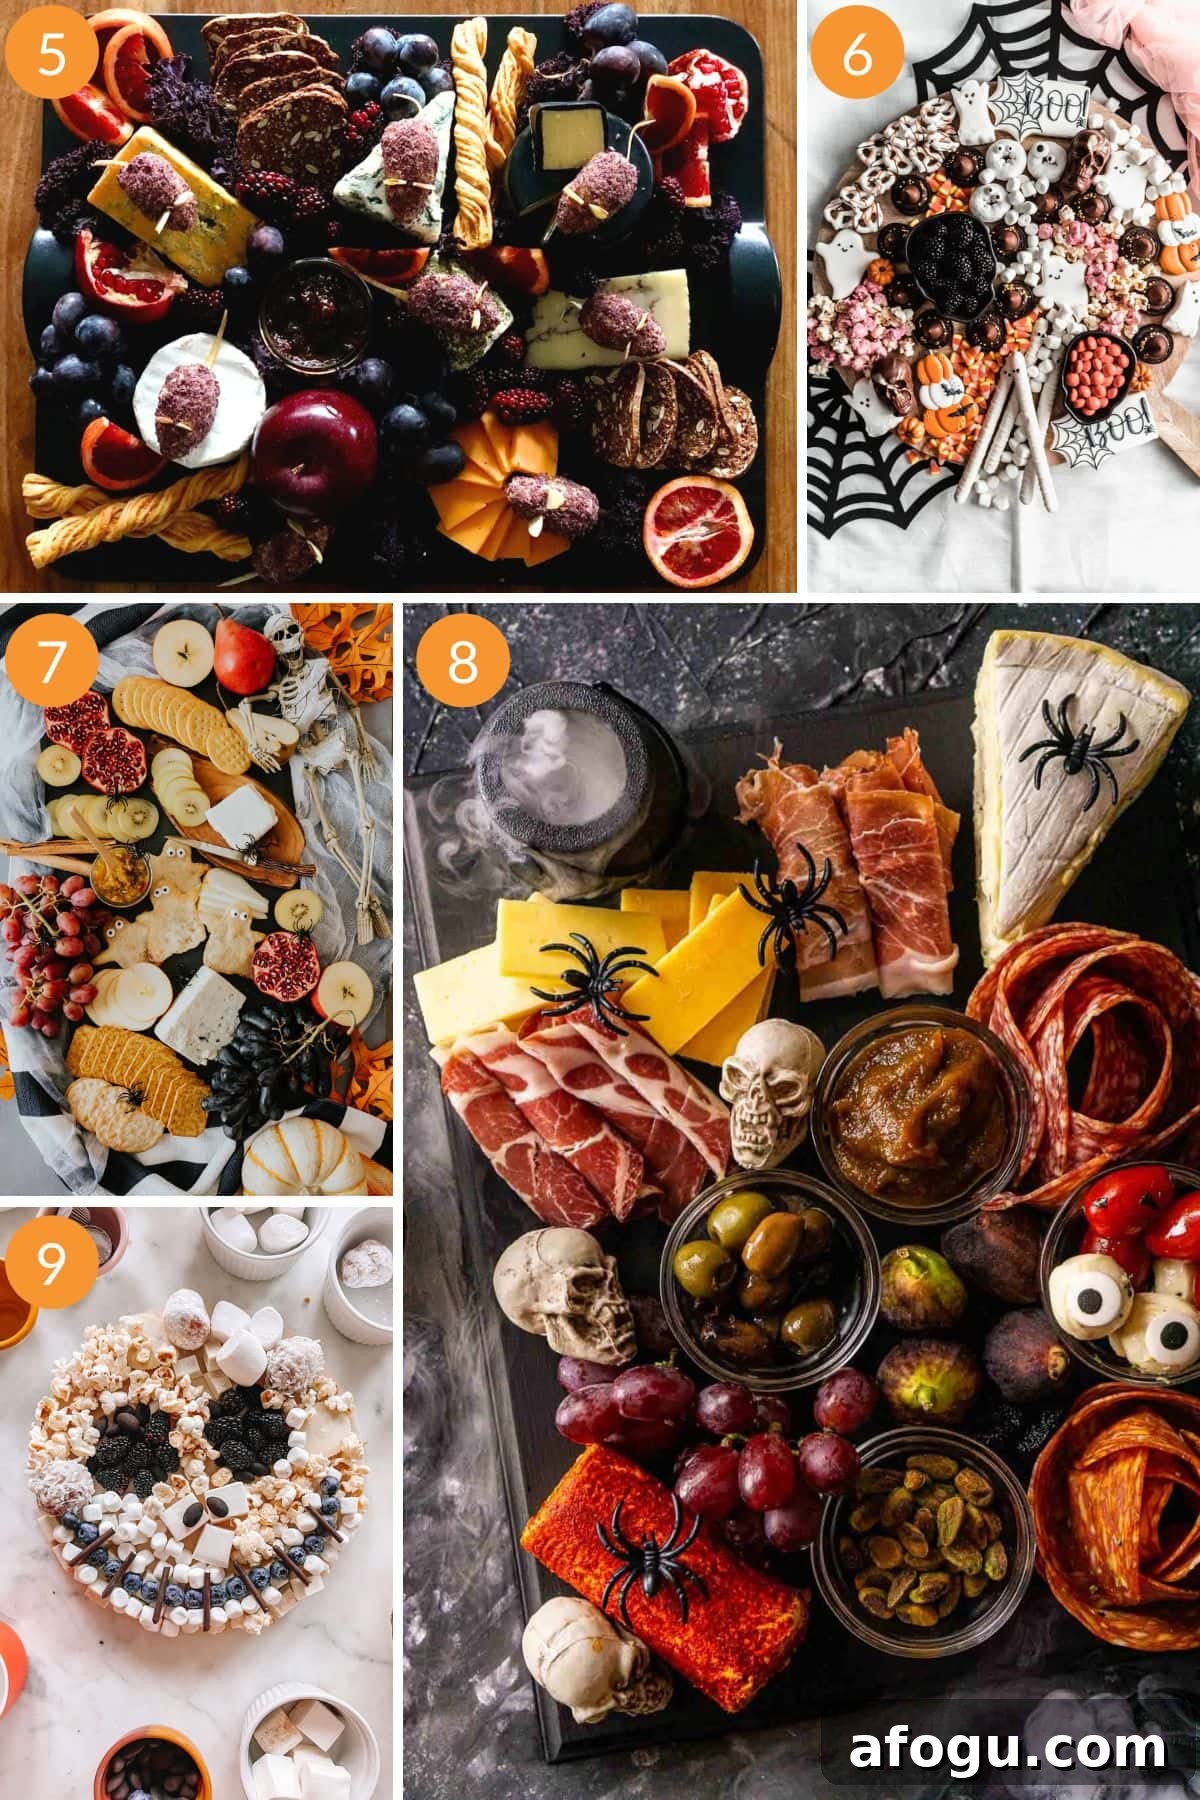
- Playful finger foods shaped like witches’ fingers or other creepy bites.
- Color-focused boards that emphasize black, orange and purple.
- Hybrid boards mixing savory and sweet elements for contrast.
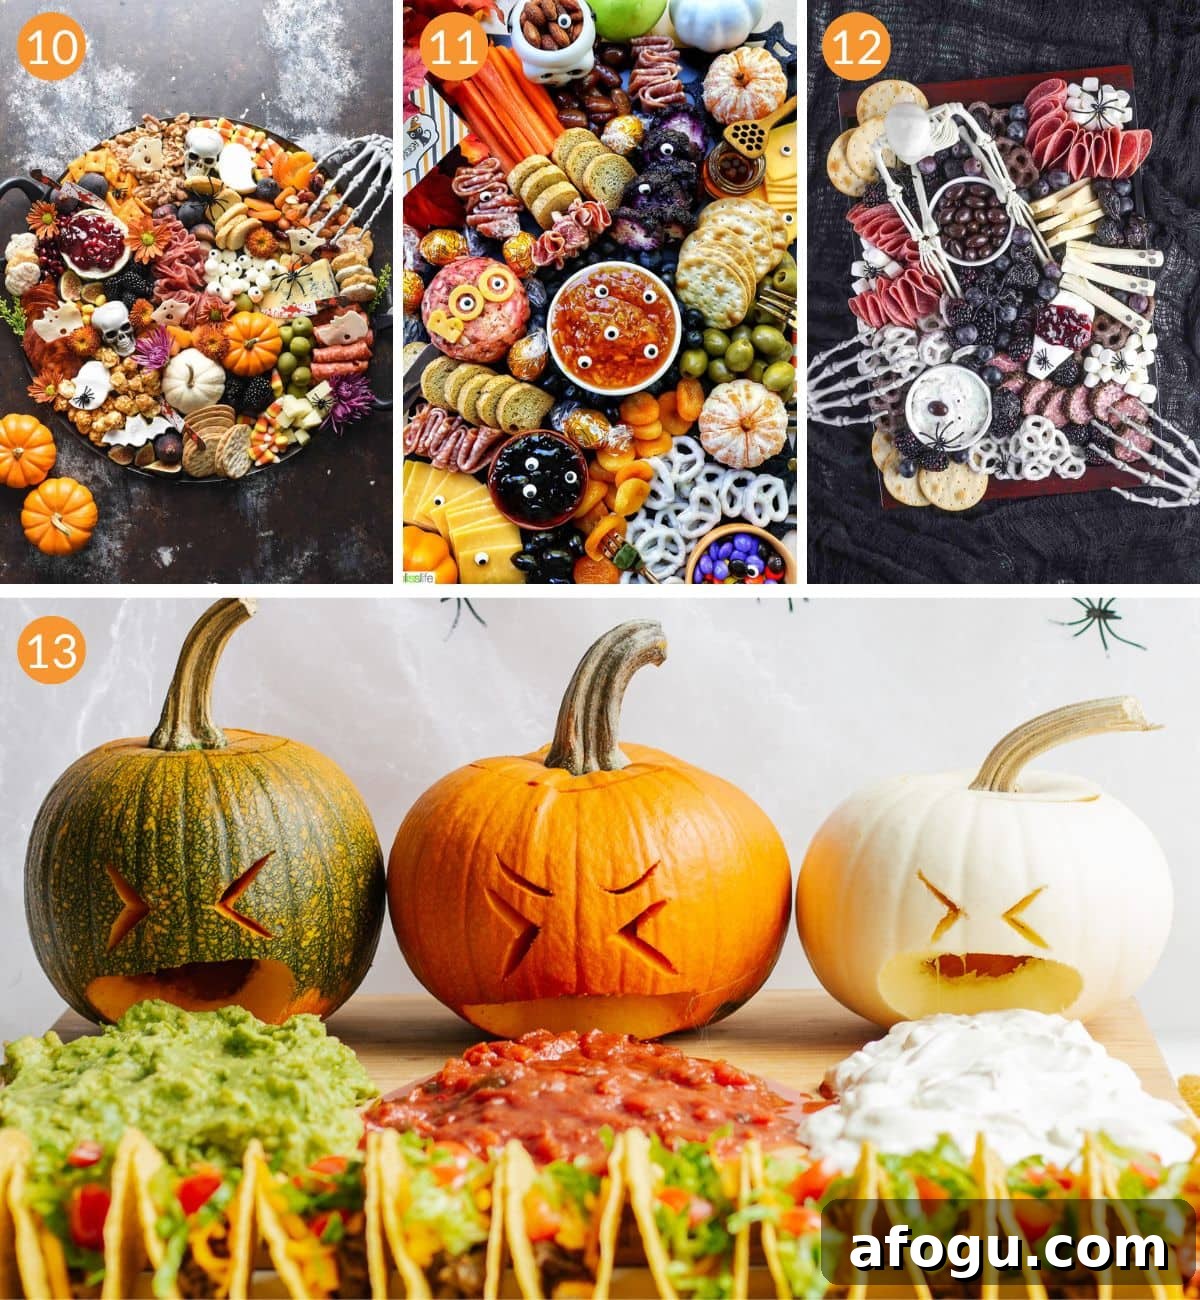
- Simple themed boards that are quick to assemble but still festive.
- Elaborate displays for larger parties or a seasonal centerpiece.
- Kid-friendly versions with familiar snacks and playful decorations.
- Novelty boards like taco-themed Halloween spreads for a fun twist.
FAQ
Any flat surface you have will work. A charcuterie board is ideal, but a cutting board, tray, baking sheet or a strip of parchment on the table are all fine options—use what’s convenient.
You can assemble most boards up to 8 hours ahead if you have fridge space; cover and refrigerate. Keep crackers separate until serving to avoid sogginess. Alternatively, prepare components in advance and assemble right before guests arrive.
There’s no single right way. A good approach is large-to-small: place bowls and big cheese wedges first, then add meats, crackers and fruits, and finish by filling gaps with nuts, seeds or berries.
More Halloween recipes
Add a few more spooky dishes to round out your menu—appetizers, veggie trays, creepy finger foods and themed dinners make the celebration complete.
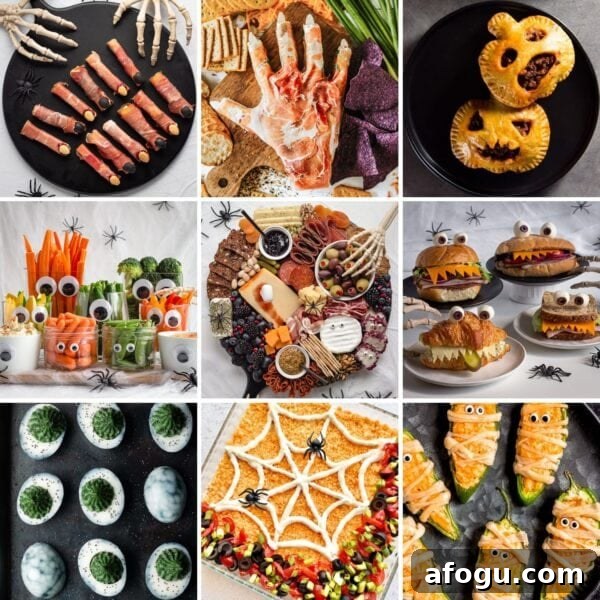
Spooky (and Cute!) Halloween Appetizers
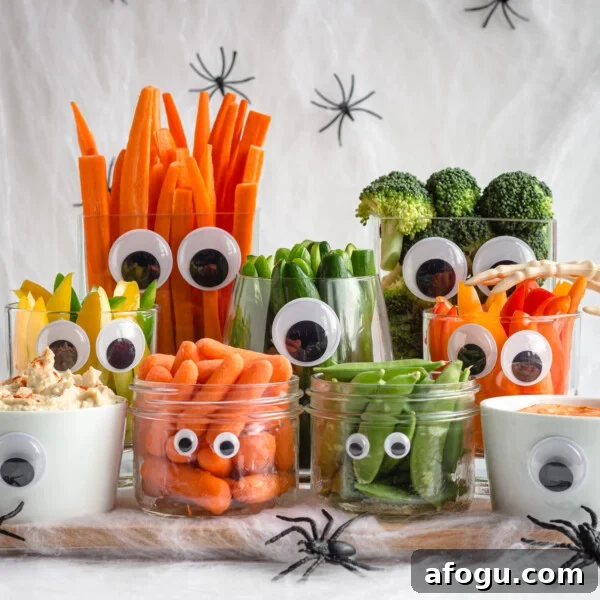
Easy Monster Halloween Veggie Tray
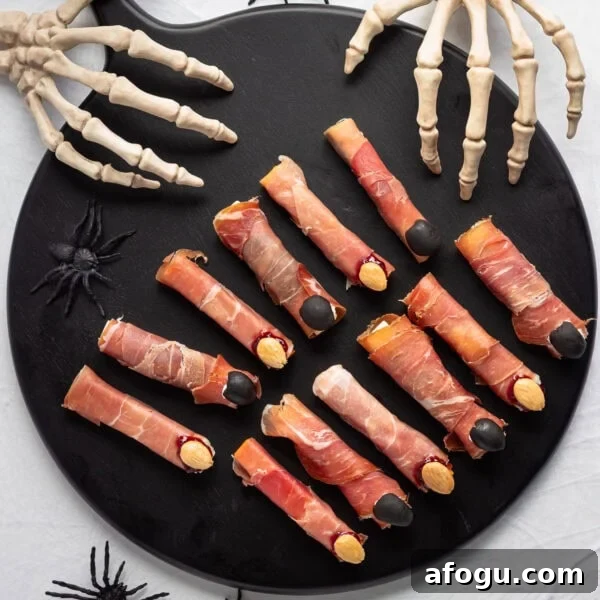
Creepy Prosciutto Cheese Halloween Fingers
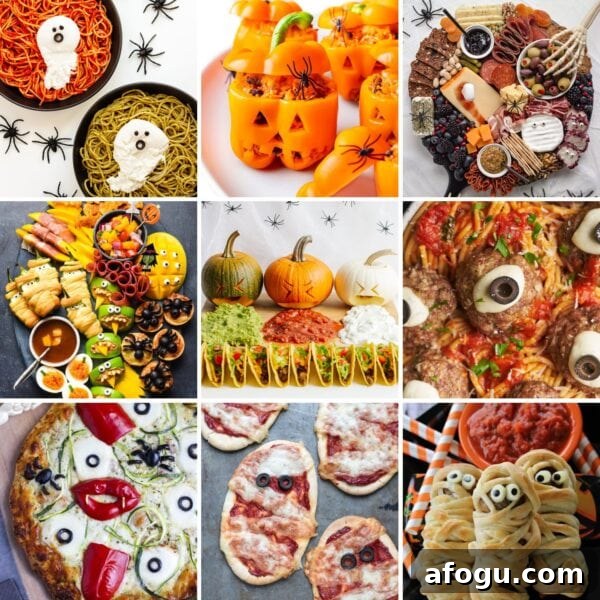
Fun & Spooky Halloween Dinner Ideas
Have fun assembling your Halloween charcuterie board! If you make one, leave a comment or share a photo on social media to show your spooky creation.
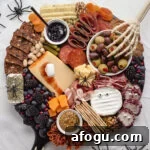
Spooky Halloween Charcuterie Board
- Prep Time: 30 min
- Cook Time: 0 min
- Total Time: 30 min
- Yield: Varies
- Category: Appetizer, Party Food, Snack
- Method: Assemble
Description
This spooky charcuterie board is a simple, showy choice for Halloween. It requires no cooking—only thoughtful arranging. Use the ideas here as a guide and adapt them to your tastes and available ingredients.
Ingredients
Choose a variety of cheeses, cured meats, crackers, fruits, vegetables, nuts, spreads and a few themed extras. Aim for Halloween colors like orange, black, purple, red, green and white. Ideas include:
- Assorted cheeses (hard and soft, different colors and textures)
- Cured meats such as prosciutto, salami and chorizo
- Various crackers and sliced baguette
- Fruits like grapes, blackberries, blueberries, figs and pomegranate seeds
- Veggies such as olives, cornichons and roasted peppers
- Nuts and seeds to fill gaps and add crunch
- Small bowls of jams, mustard, honey or tapenade
- Edible spooky touches and safe decorative accents
Instructions
- Place large items first: Put bowls and large cheese wedges on the board to anchor the layout.
- Fill in spaces: Add crackers, meats, cut cheeses, fruit and themed treats.
- Fill gaps: Use nuts, seeds and berries to fill any small gaps for a finished look.
- Add spooky touches: Place non-edible props or edible decorations to complete the theme.
Notes
- Be creative: There are no strict rules—use your favorite foods and have fun with shapes and colors.
- Board options: Any flat surface works: a board, tray, sheet pan or parchment-lined table center.
- Styling tip: Vary shapes and textures for visual interest—slice, cube, crumble or fold ingredients.
- Timing: Prep time and yield depend on choices and the board size. Prepare components ahead if needed.
⬇ PIN it for later! ⬇