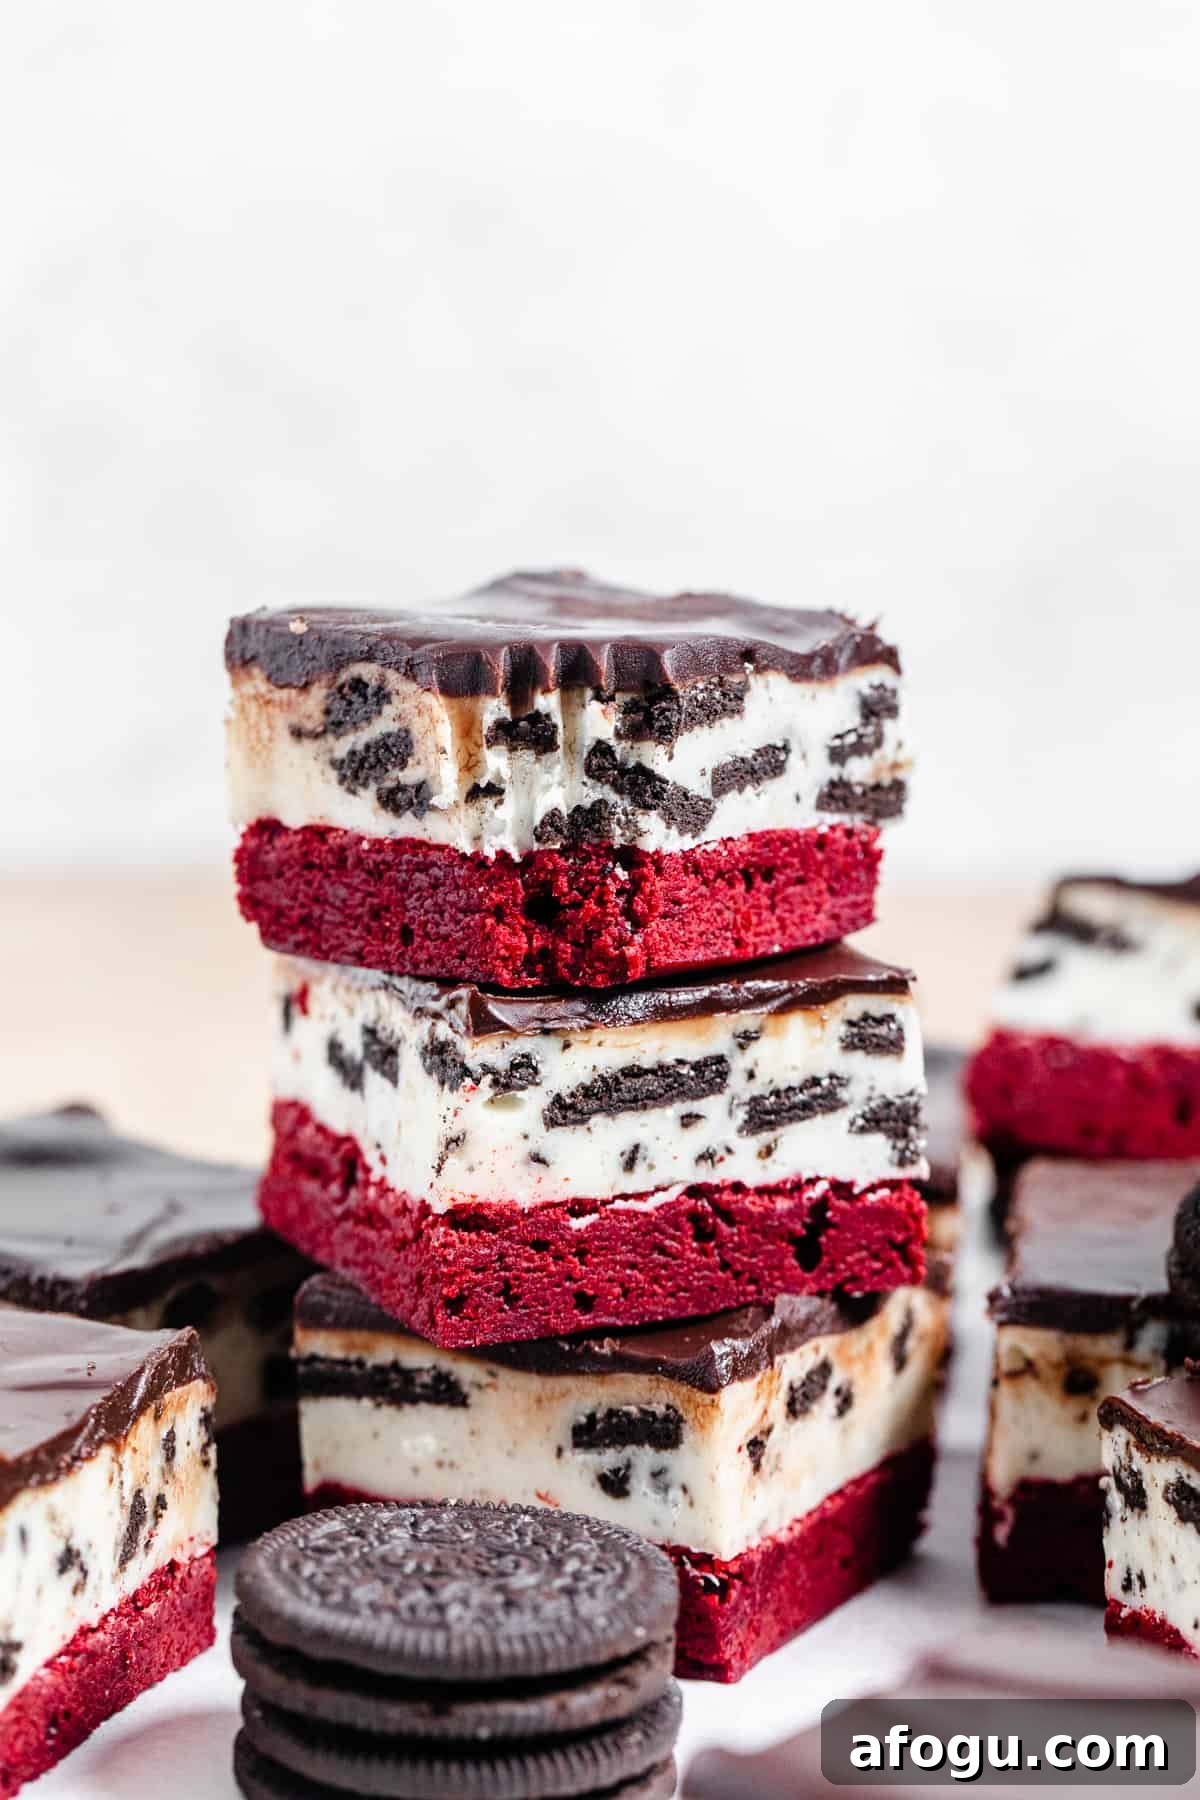
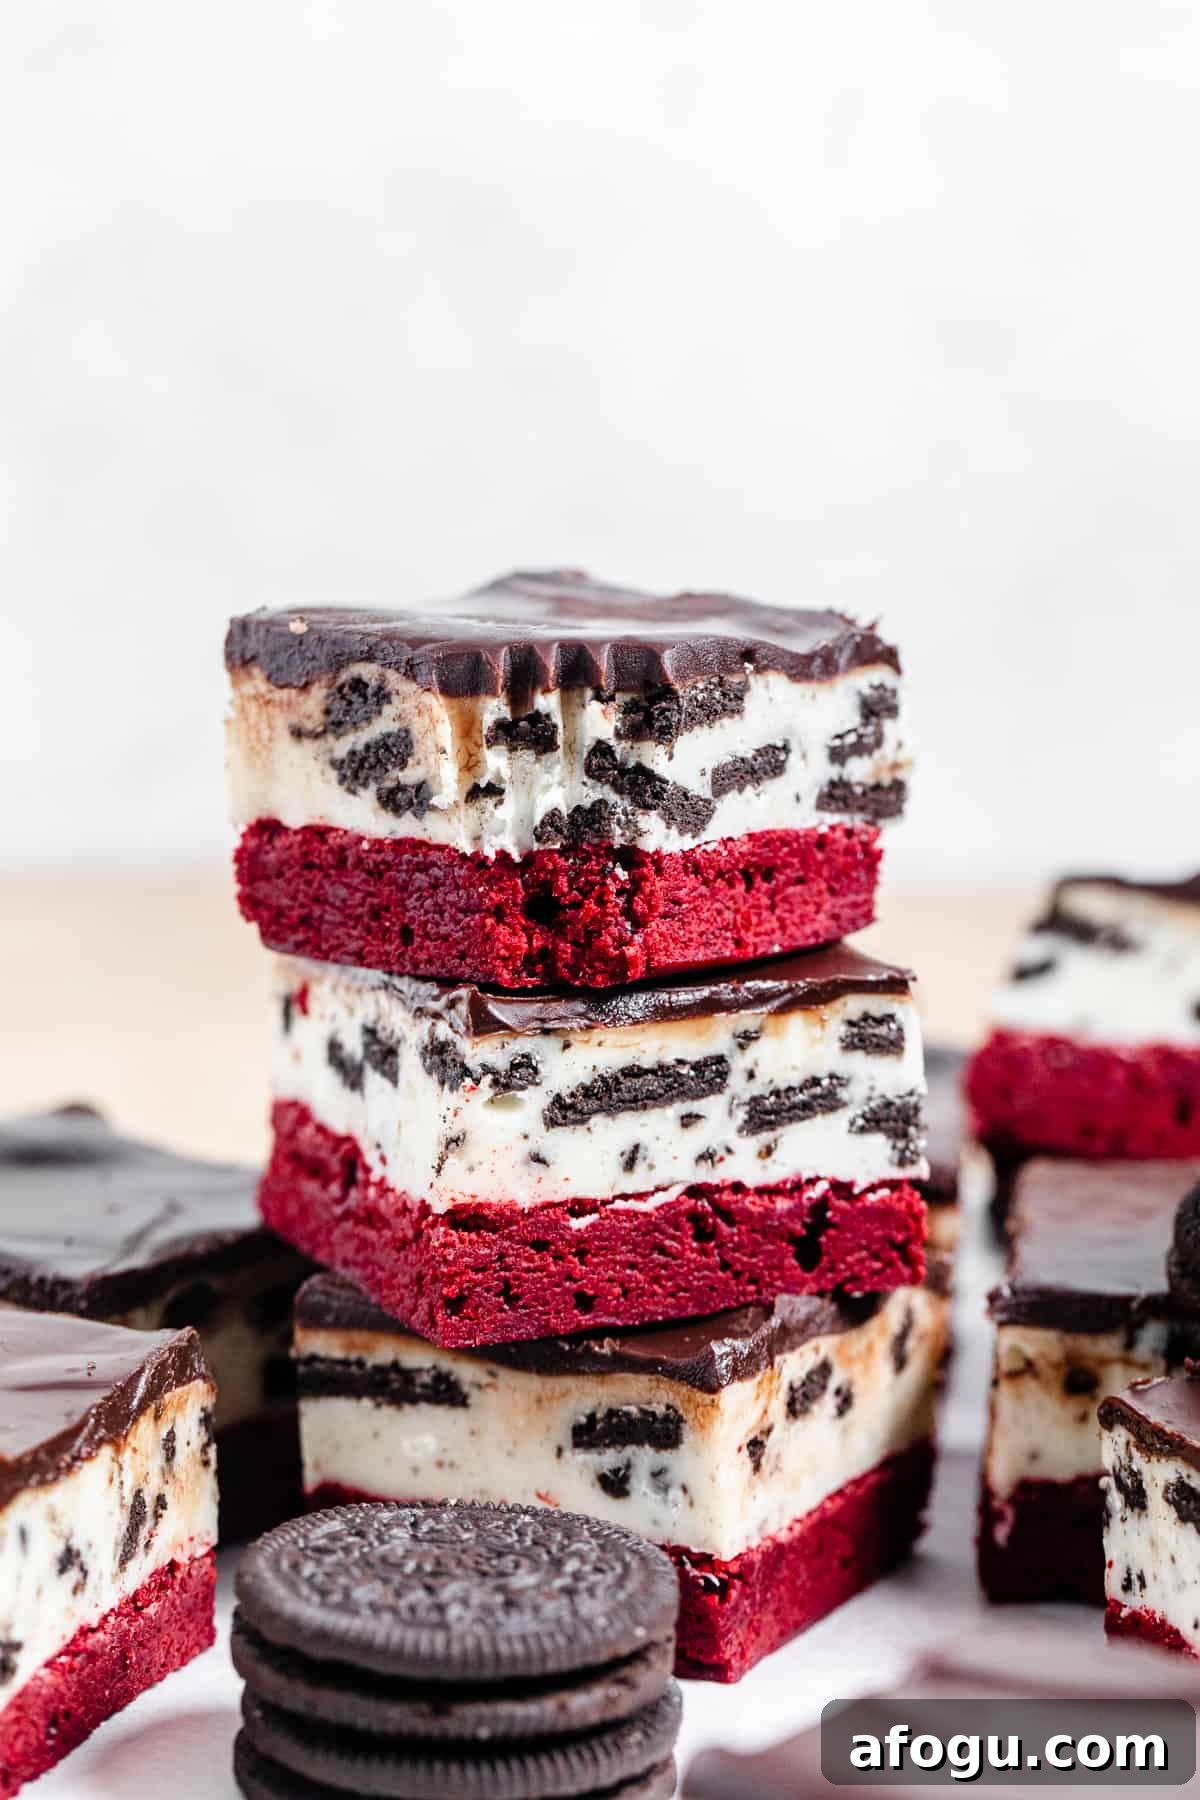
Brace yourself for an unforgettable treat! These Red Velvet Oreo Fudge Brownies combine a tender, fudgy red velvet base with a creamy white chocolate Oreo fudge layer and a silky chocolate ganache for a truly decadent dessert.
This post may contain affiliate links. As an Amazon Associate, I earn from qualifying purchases. This does not influence my opinions. All opinions are my own. See the disclosure policy for details.
Red velvet is a charming balance of cocoa and vanilla with a vibrant color that makes any dessert feel special. After developing a red velvet layer cake and many red velvet variations, I combined that flavor with my popular fudge brownie concept and Oreo fudge to create these layered bars.
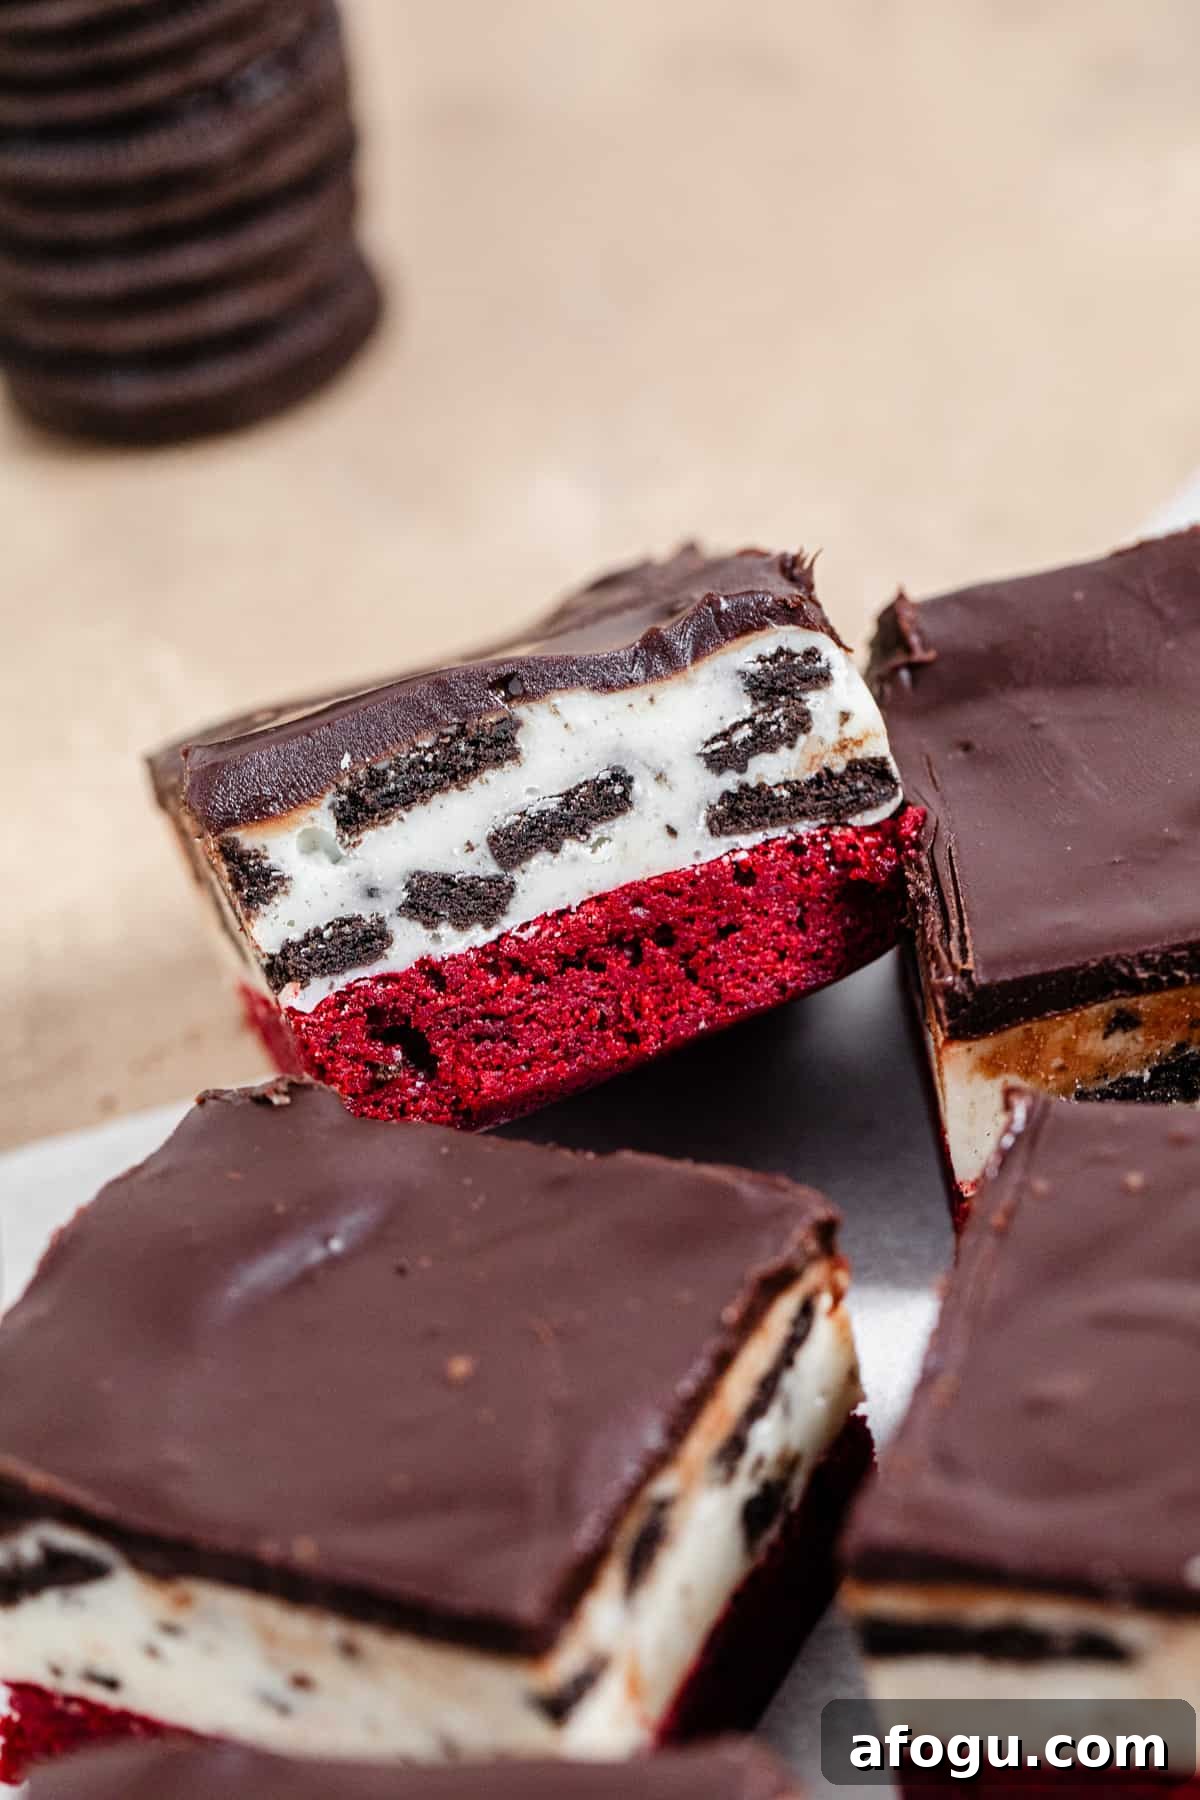
Three Layers
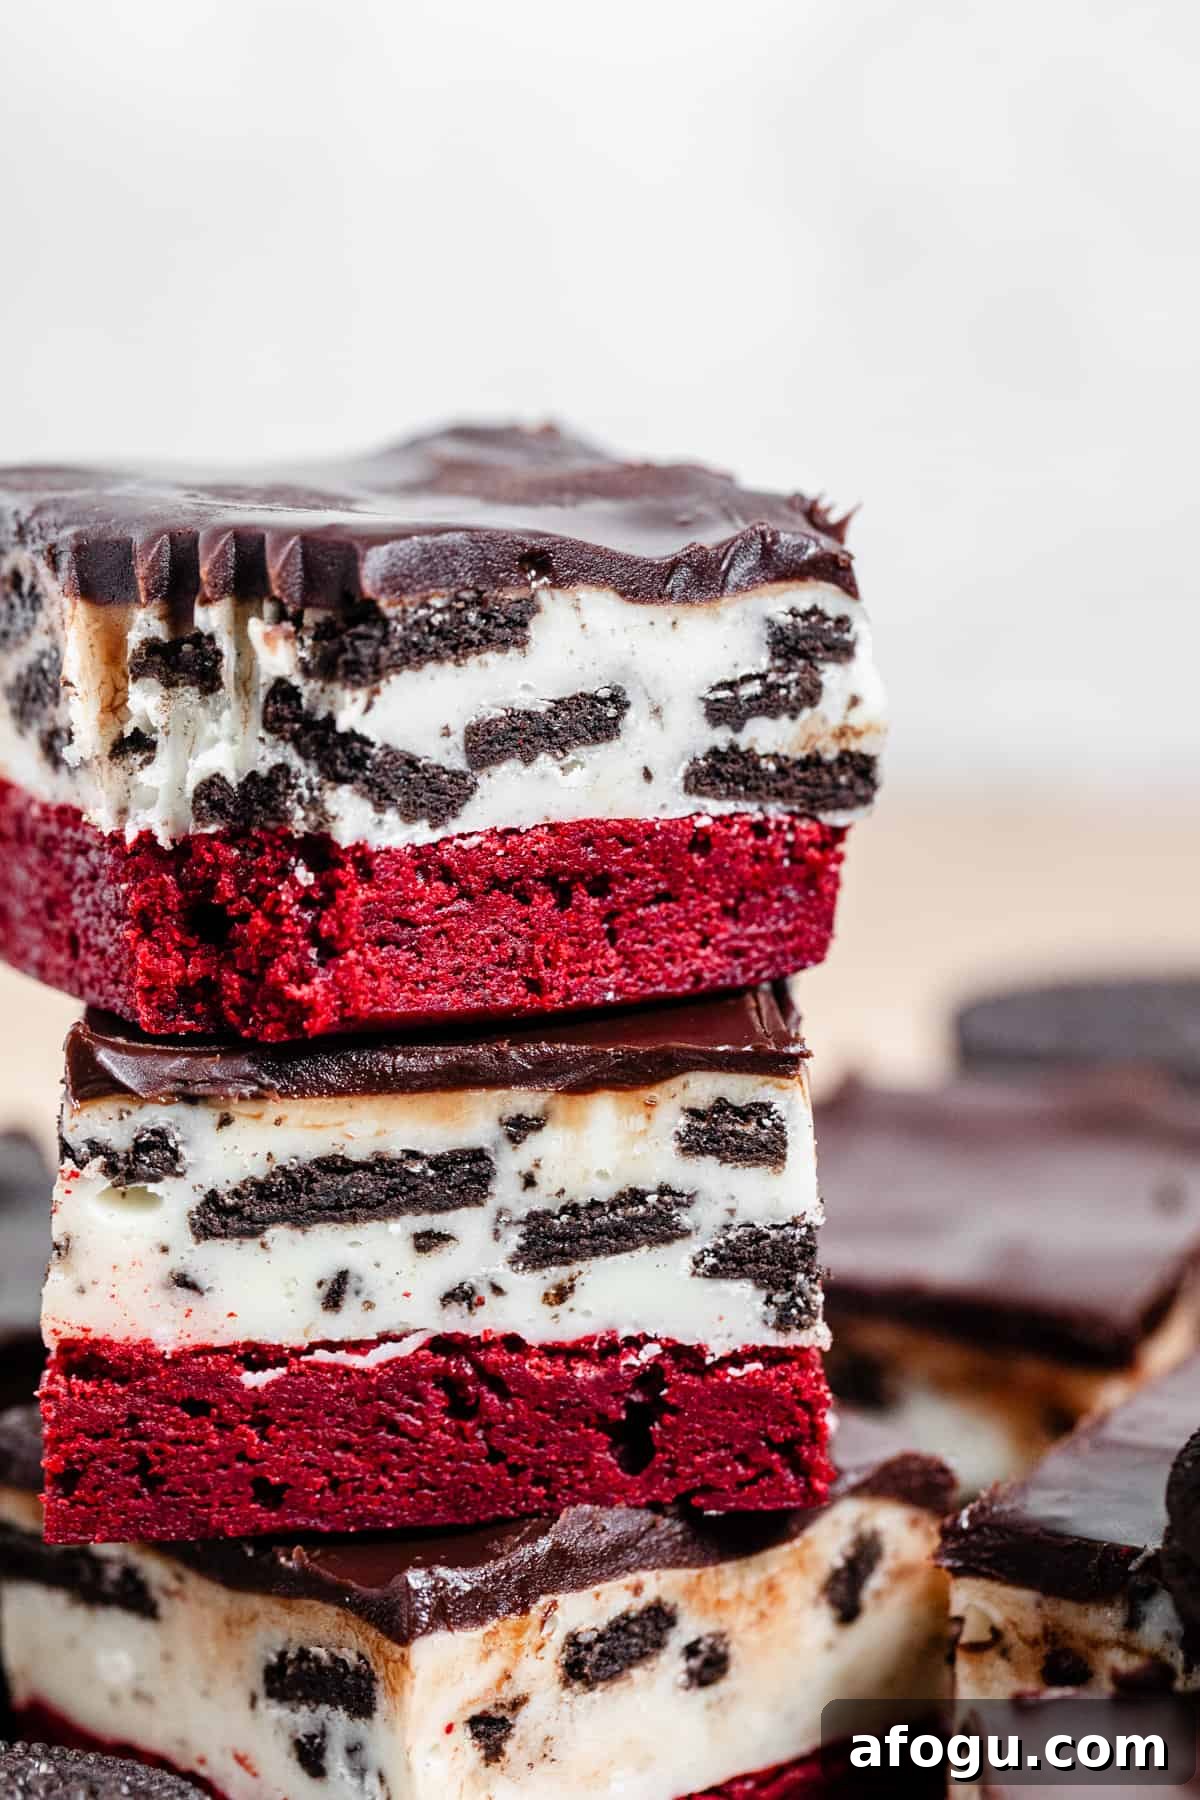
These bars are built in three simple layers:
- Red velvet brownie base
- White chocolate Oreo fudge
- Chocolate ganache topping
Don’t be intimidated — each layer uses straightforward ingredients and easy techniques. Below I explain the components and how they come together.
Ingredients
1. Red Velvet Brownie Base
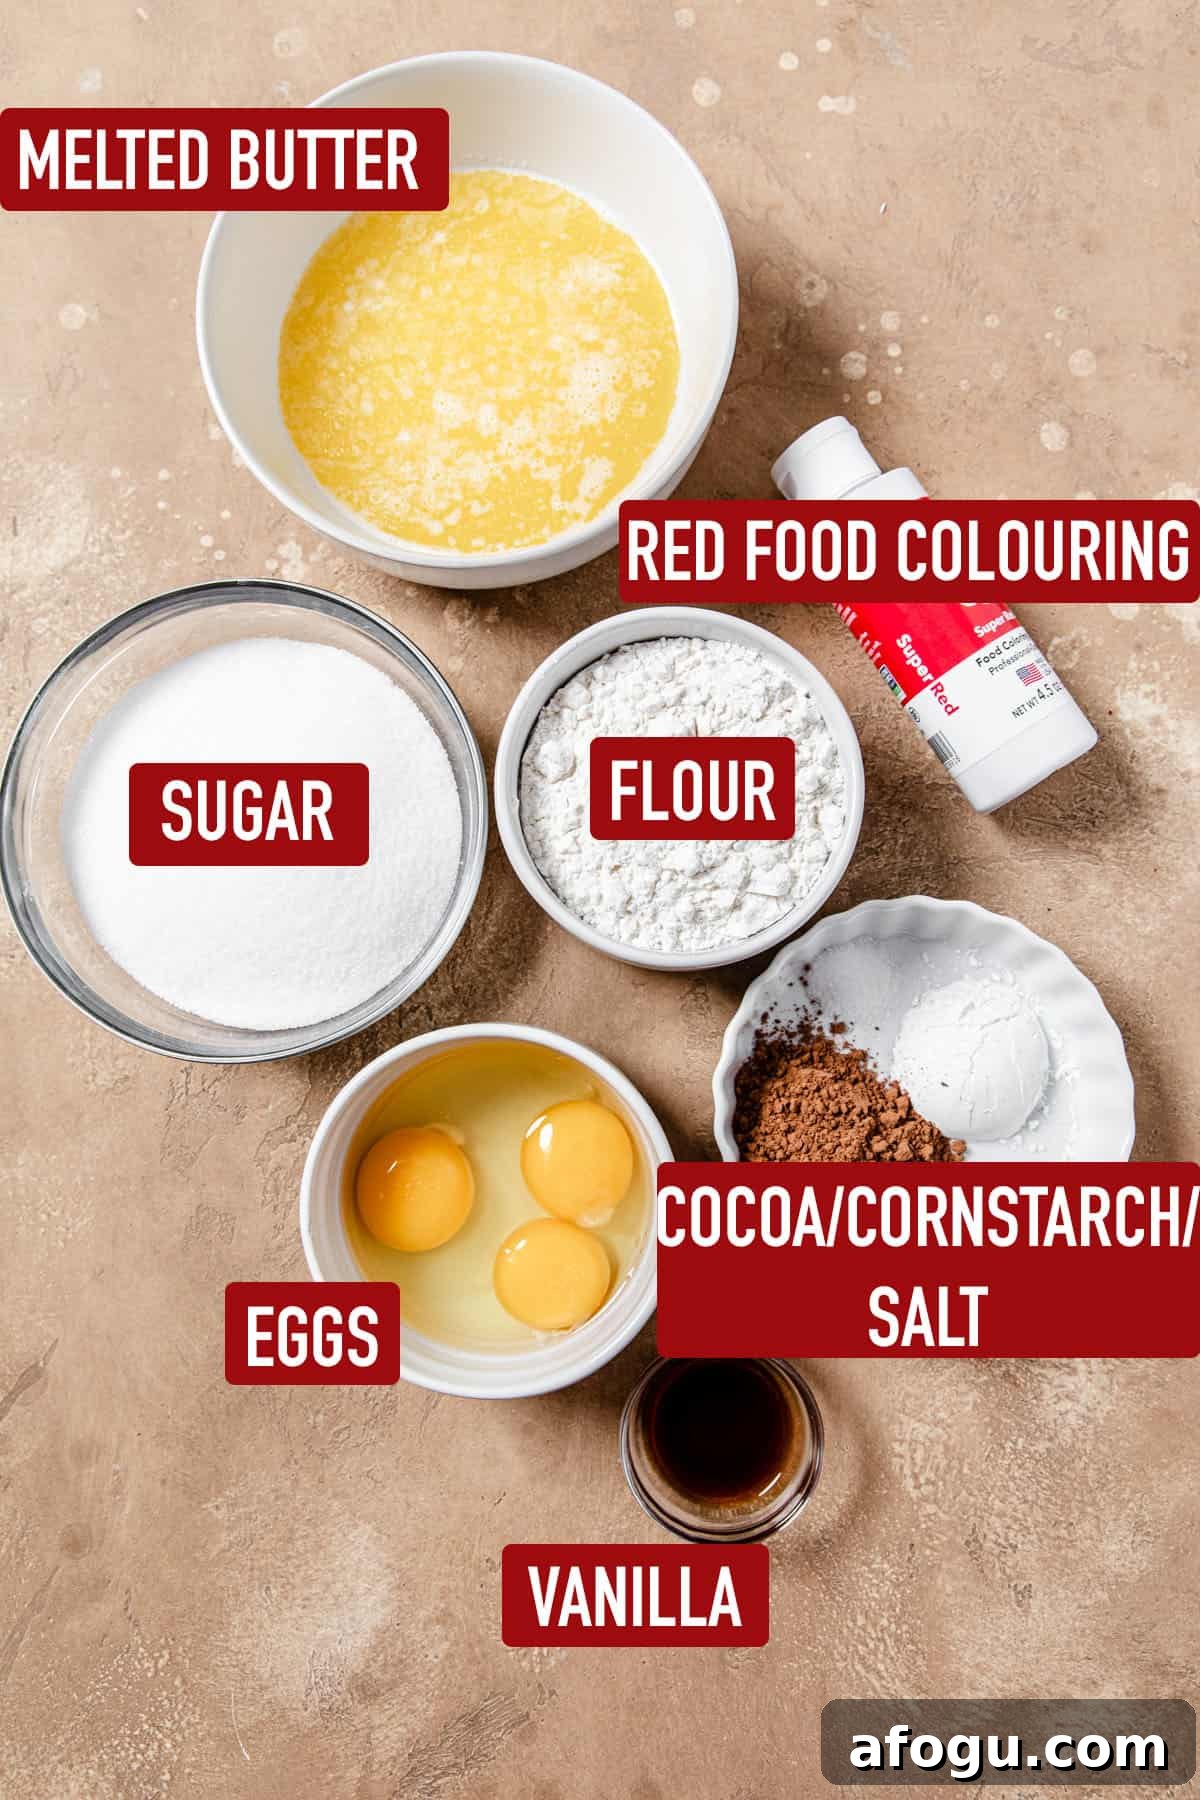
- Unsalted butter — melted and cooled.
- Granulated sugar — keeps the red color vibrant compared to using brown sugar.
- Eggs — two whole eggs plus one yolk add richness and fudginess.
- Vanilla extract — use pure vanilla for best flavor.
- Red food coloring — gel is preferred for bright color without thinning the batter.
- All-purpose flour — 1 cup gives a fudgy texture.
- Unsweetened cocoa powder — a few tablespoons for that hint of chocolate.
- Cornstarch — helps achieve the ideal brownie texture.
- Salt — balances sweetness.
2. Oreo Fudge
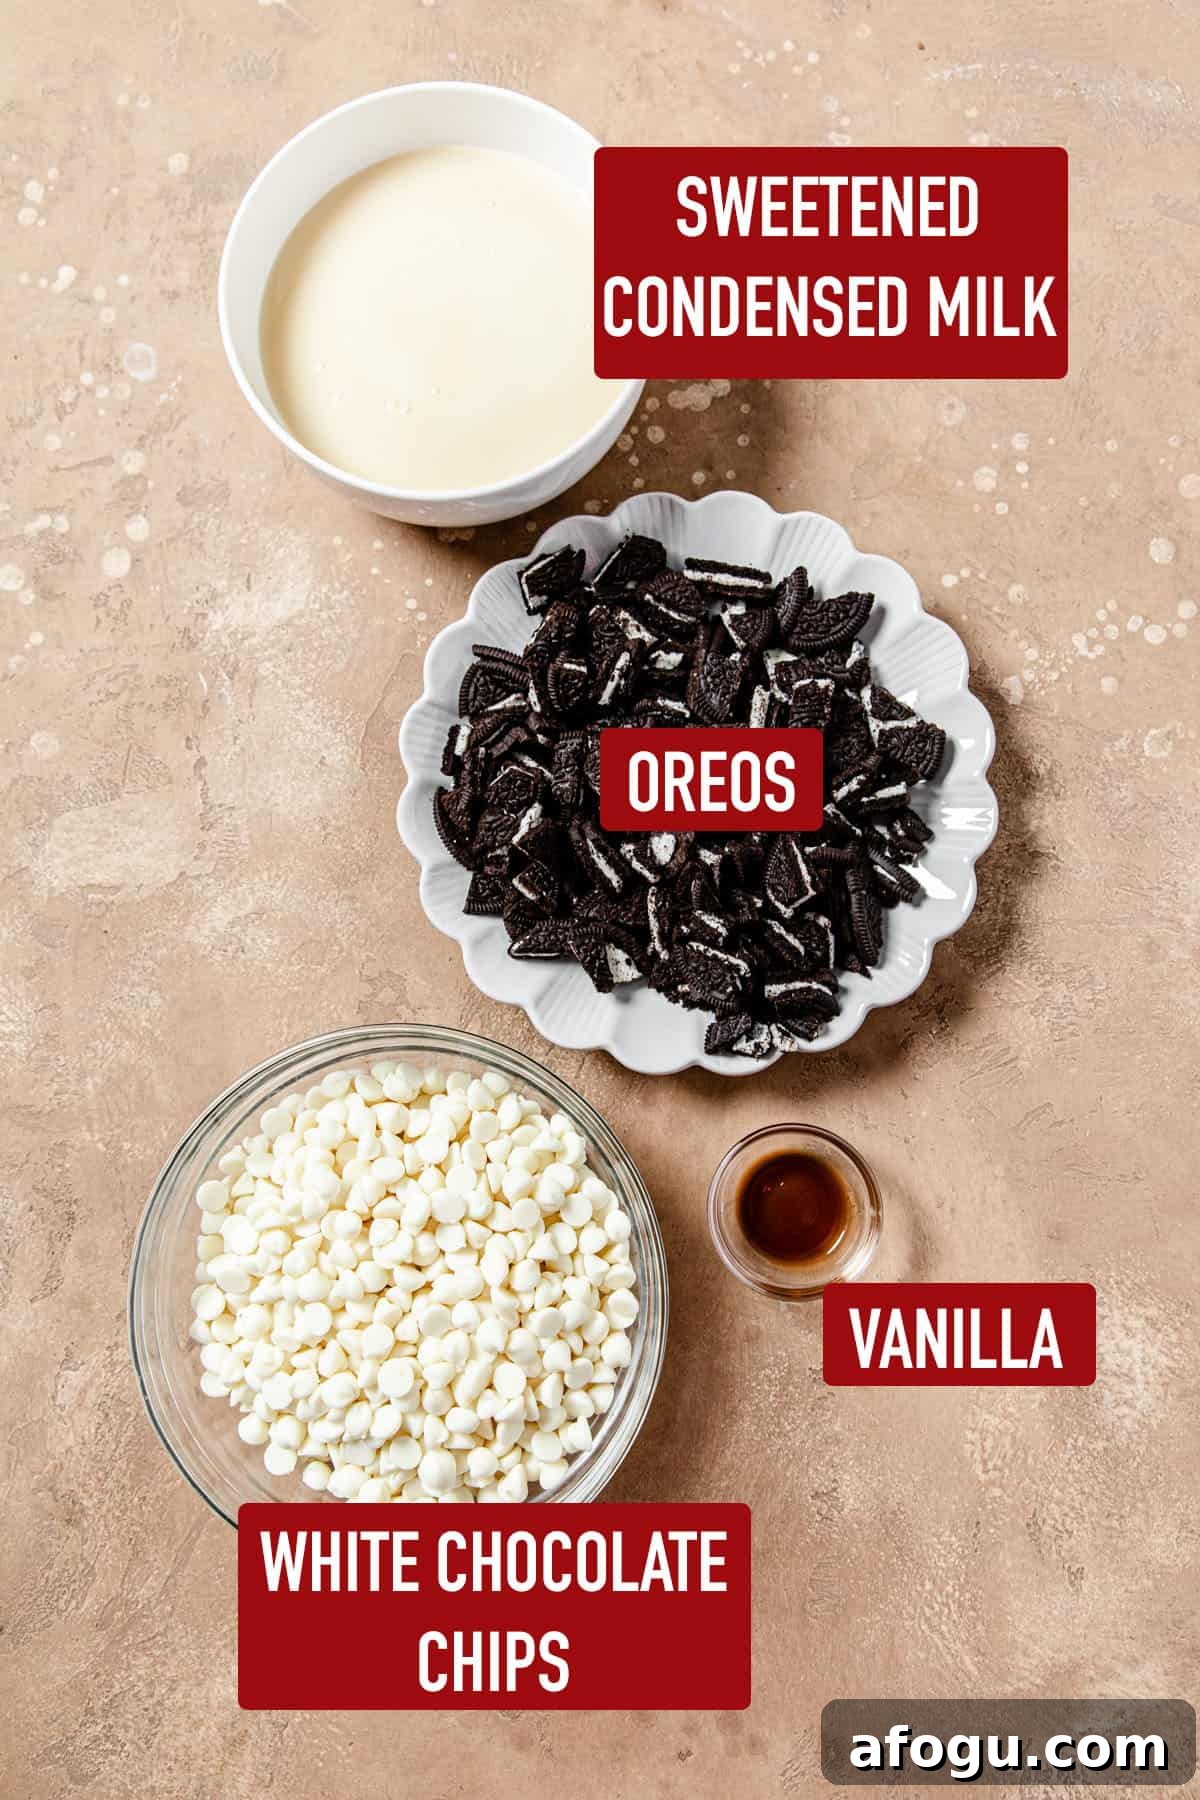
- Sweetened condensed milk — about 1¼ cups (14 oz). If your cans are smaller, measure by weight or volume to get the correct amount.
- White chocolate chips — 3 cups gives the right fudge consistency when melted with condensed milk.
- Vanilla extract — a touch for flavor.
- Oreo cookies — roughly chopped (about 15) for texture; leave some chunks for contrast.
3. Chocolate Ganache
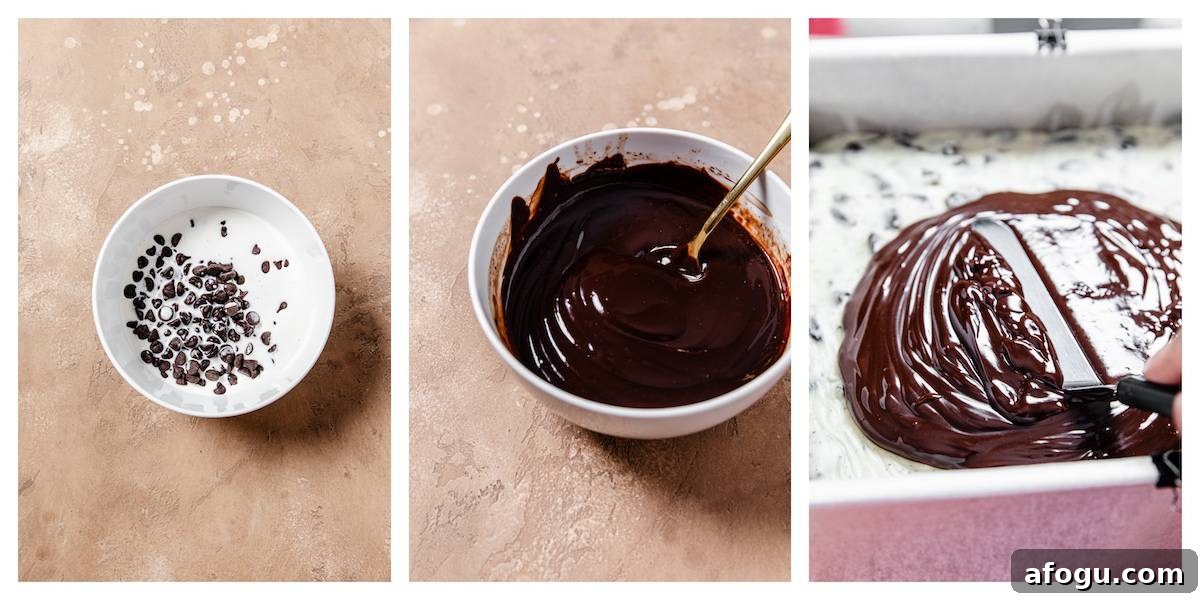
- Dark chocolate chips — about 1 cup.
- Heavy cream — ½ cup to create a smooth, pourable ganache.
With ingredients ready, assembling the bars is straightforward.
The Red Velvet Brownie Layer
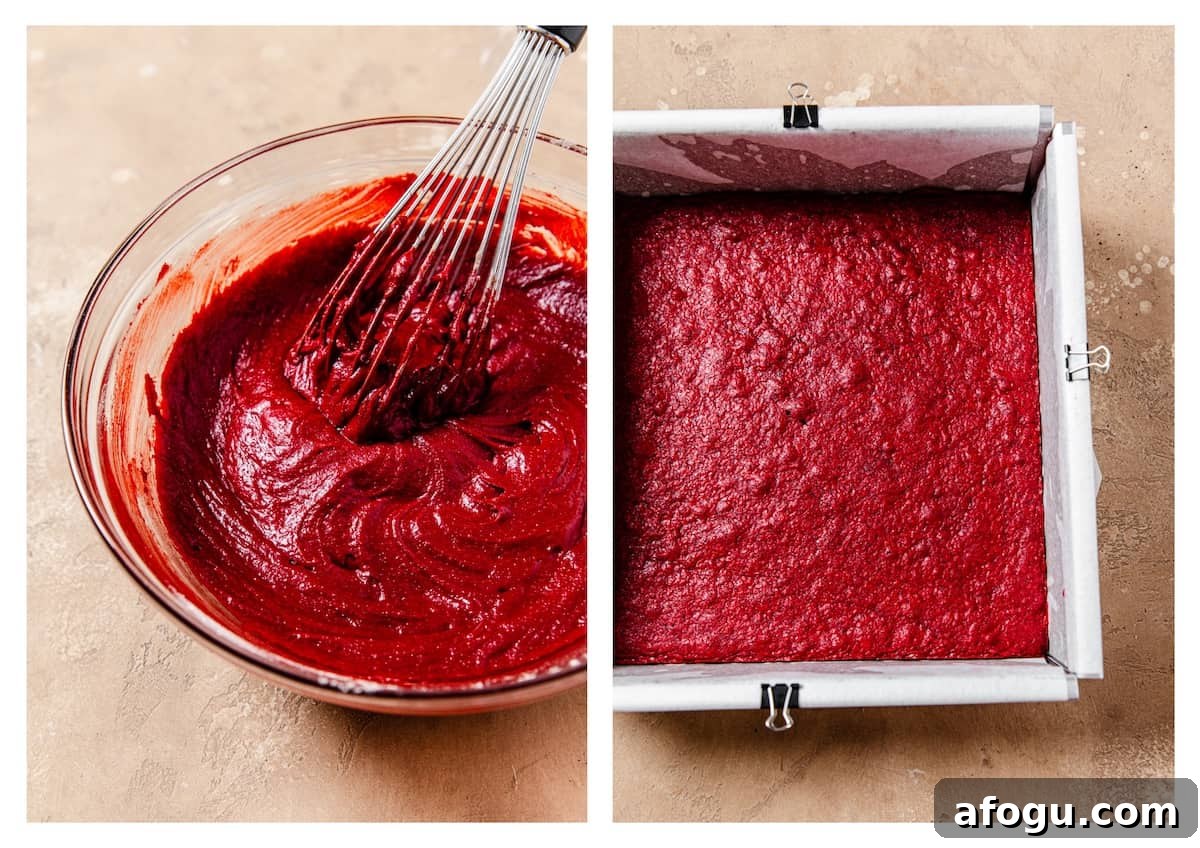
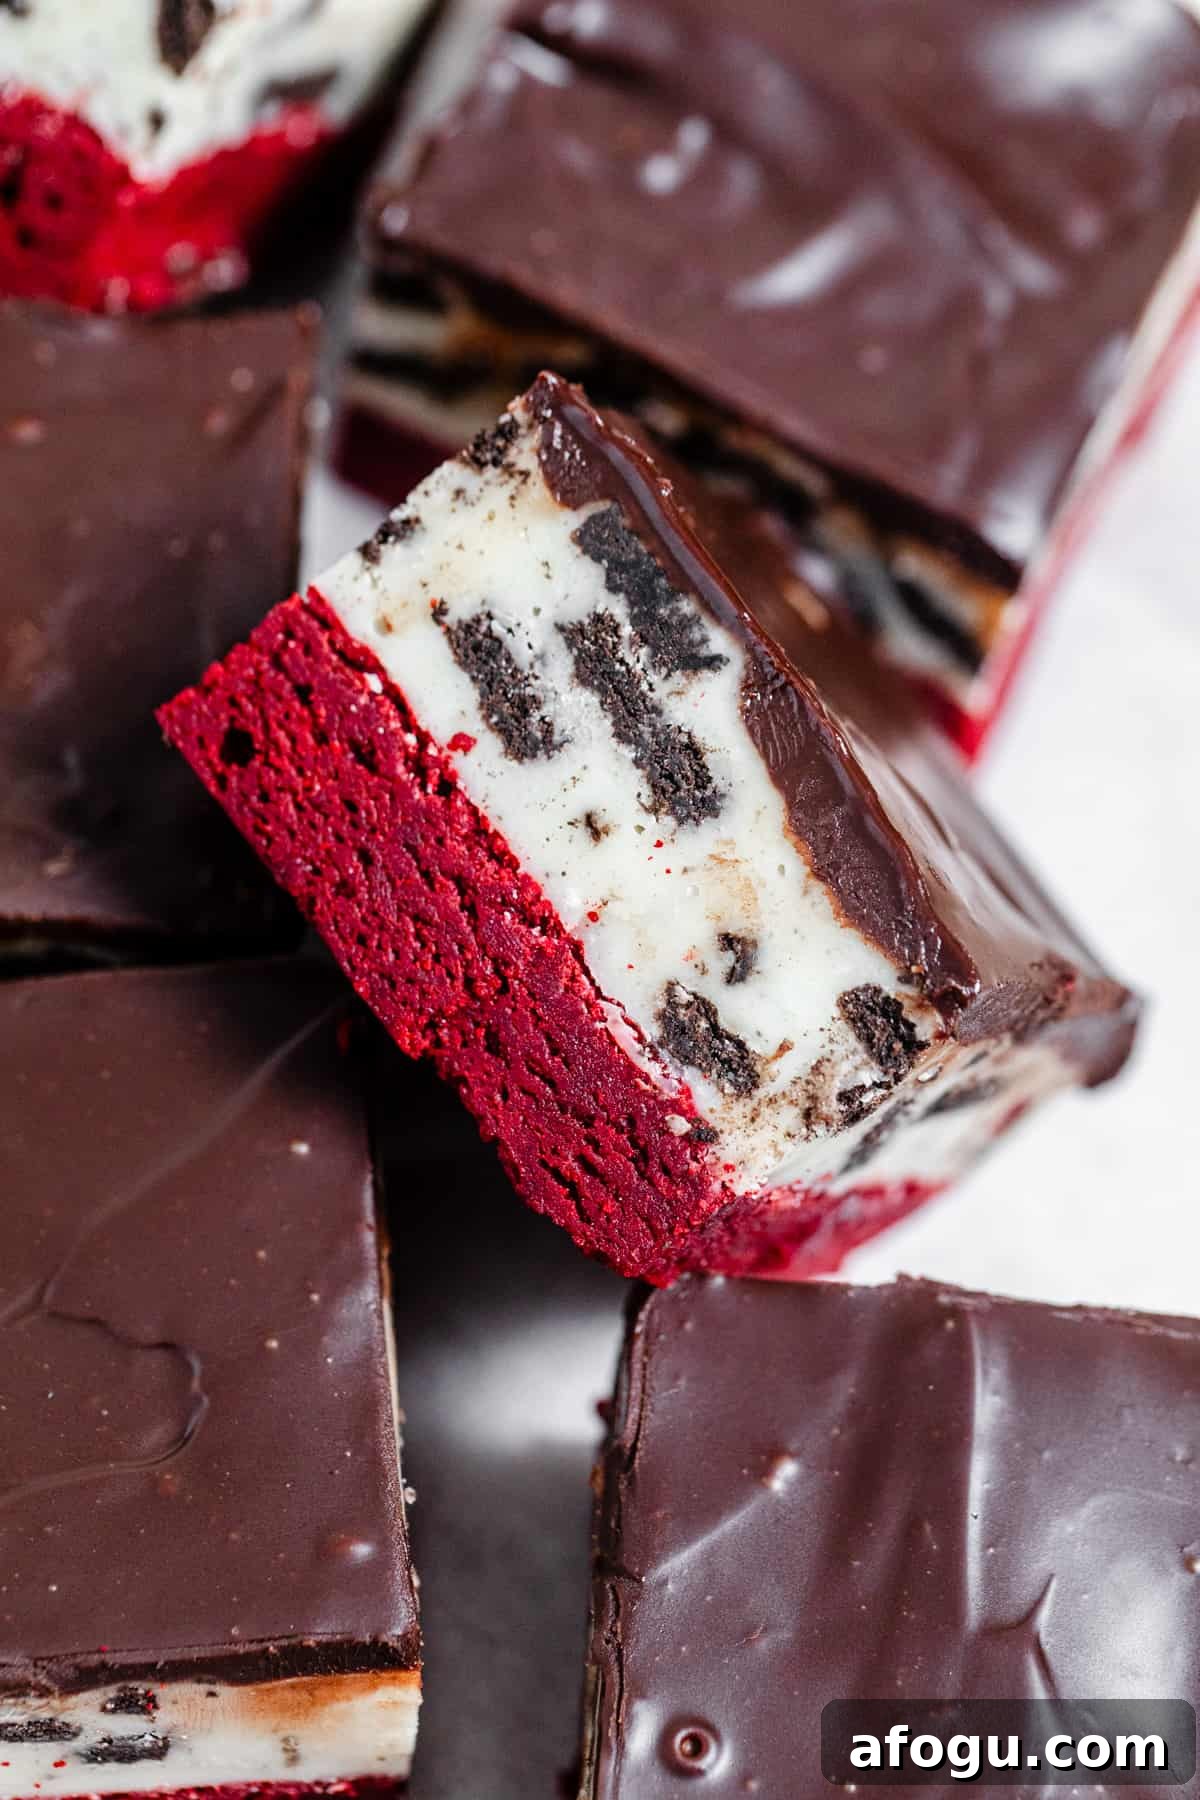
To keep the red color bright, this recipe skips melted chocolate and uses cocoa powder instead. Combine melted butter and sugar until smooth, then whisk in the eggs, egg yolk, vanilla and red food coloring. Fold in the flour, cocoa, cornstarch and salt until just combined. Bake in a lined 9×9-inch pan (see notes for lining tips) at 350°F (176°C) for 25–30 minutes, or until a toothpick shows a few moist crumbs. Allow to cool completely in the pan.
Baker’s tip: Line the pan with two parchment sheets crossing in opposite directions so you can lift the brownies out easily once set.
The White Chocolate Oreo Fudge
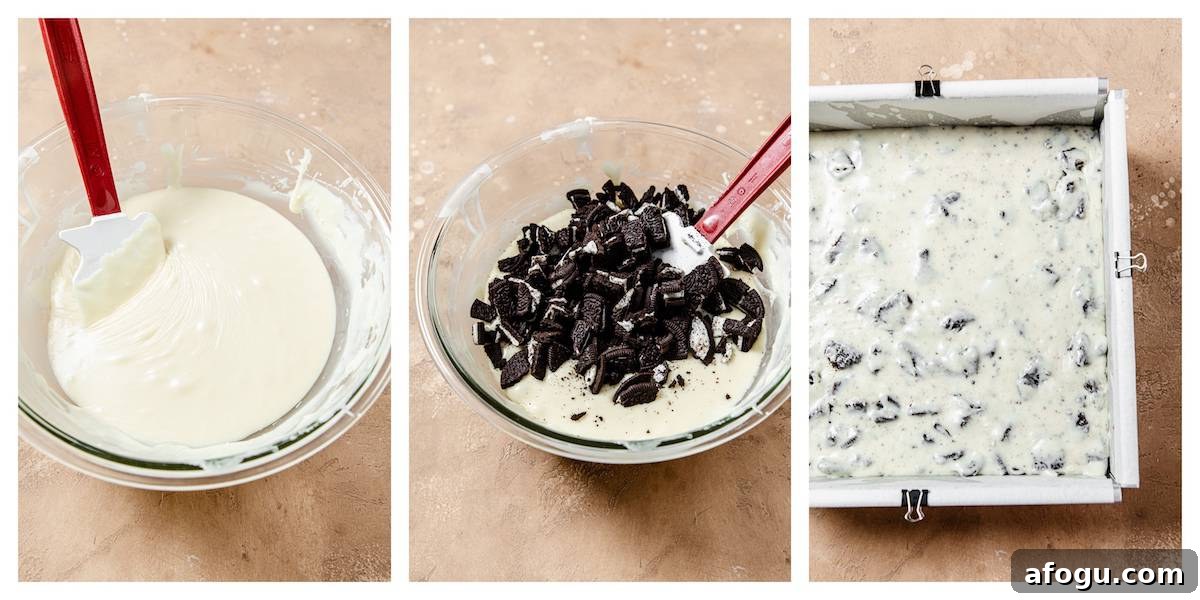
Place sweetened condensed milk and white chocolate chips in a heatproof bowl over simmering water and stir until melted and smooth. Remove from heat, stir in vanilla, then fold in the chopped Oreos. Spread the thick fudge over the cooled brownie base, cover with plastic wrap and refrigerate for at least 4 hours, preferably overnight, until firm.
The Chocolate Ganache Topping
Warm the heavy cream and pour it over the chocolate chips, or microwave in short intervals, stirring until smooth to make a glossy ganache. Once the fudge layer has fully set, pour the ganache over the bars and spread evenly. Chill until the ganache firms, about 1 hour, then lift the whole slab from the pan and slice into squares.
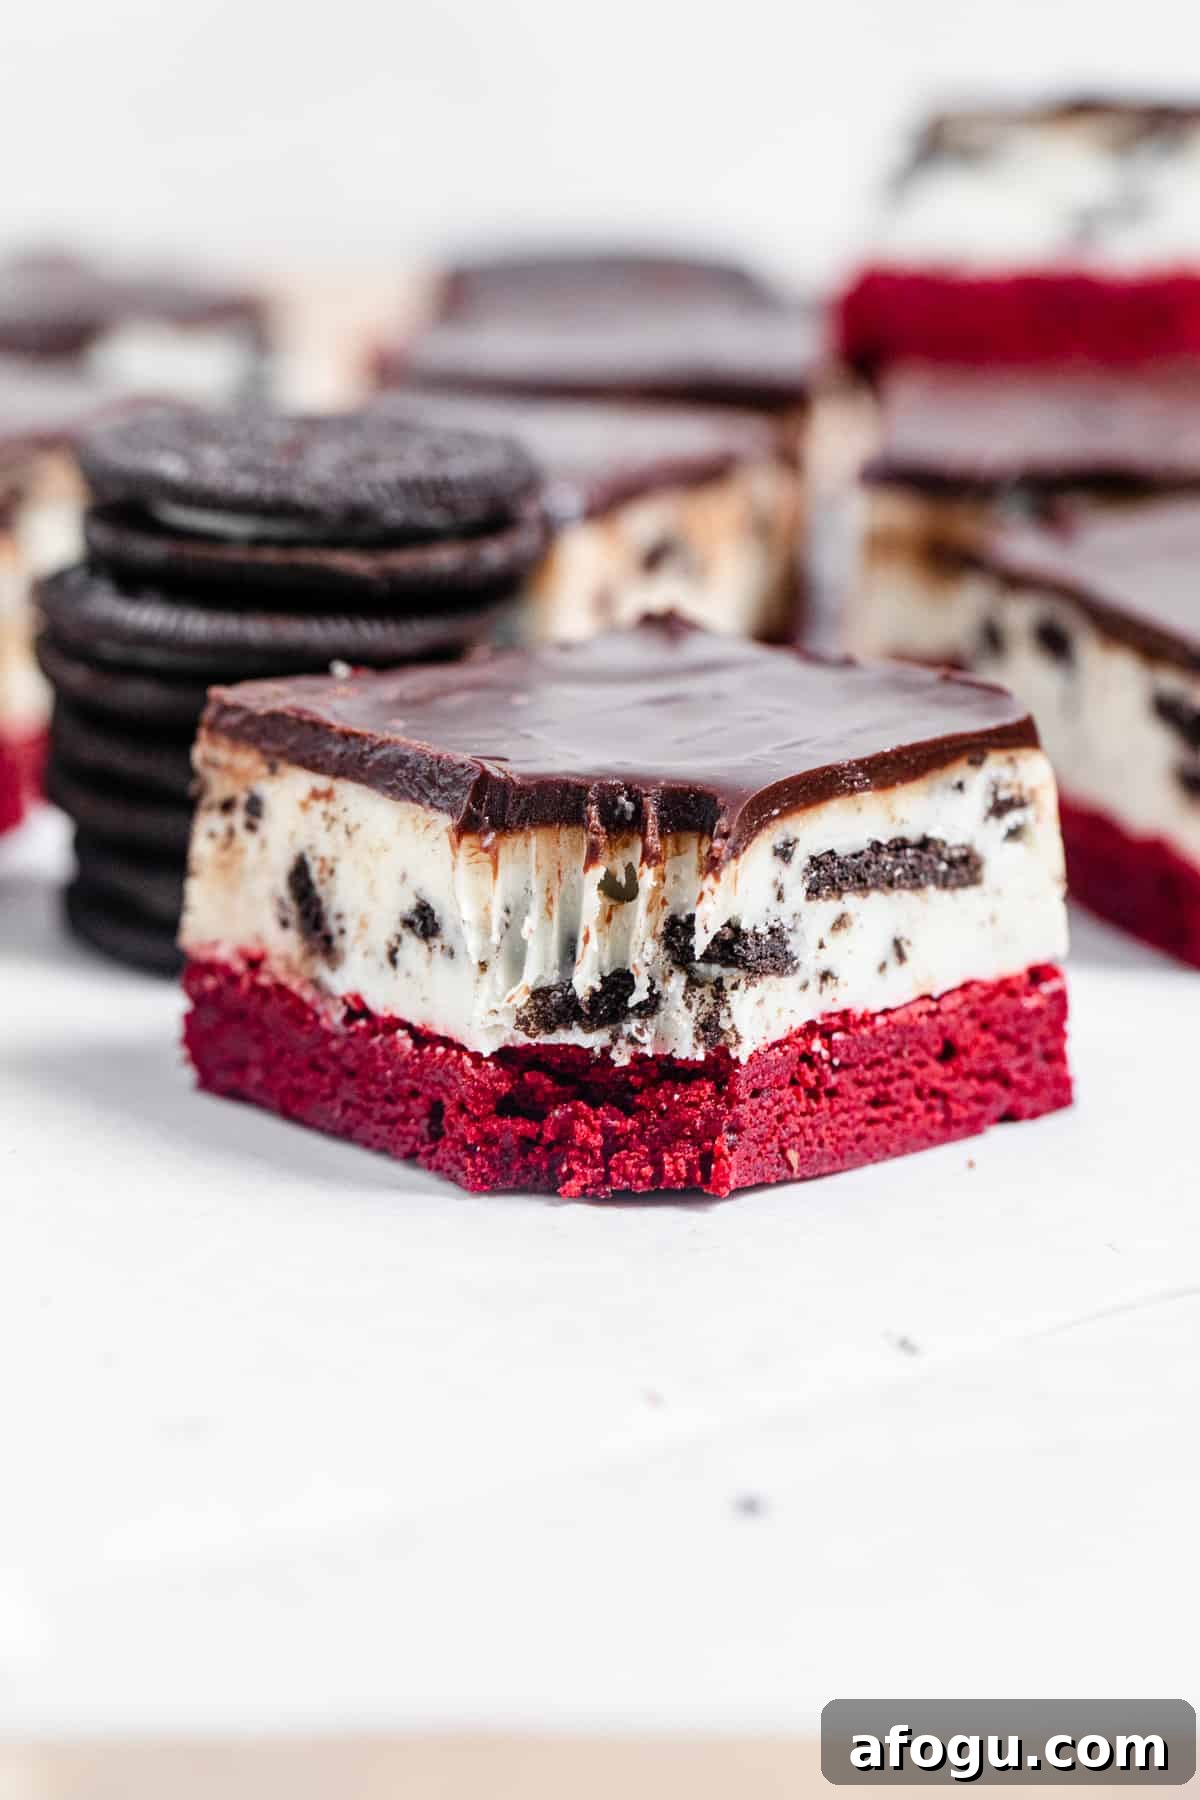
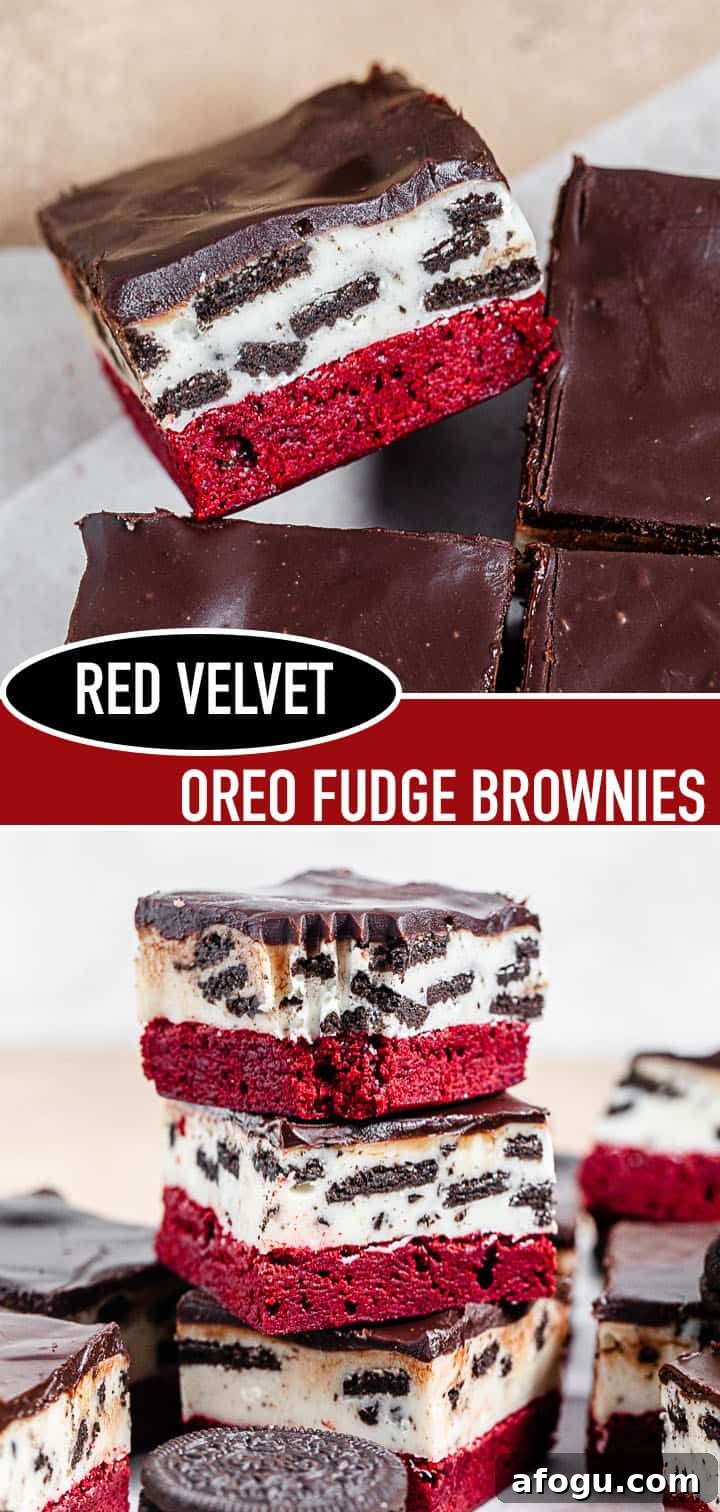
Each bite of these brownies delivers layers of texture and flavor — a fudgy red velvet base, creamy Oreo-packed white chocolate fudge, and a rich chocolate finish. They’re a showstopper for gatherings or whenever you’re craving a seriously indulgent treat.
Tips & Notes
- Measure flour correctly: Fluff, spoon and level flour for accurate measurement.
- Don’t overbake: Start checking at 20–23 minutes; a few moist crumbs on a toothpick mean it’s done.
- Storage: Keep in an airtight container in the refrigerator for 3–5 days.
- Slicing: Warm a sharp knife under hot water and wipe between cuts for clean slices.
- Nutrition: Nutrition facts are estimates per bar assuming 12 servings.
Share Your Pics
Follow me on Instagram and tag #queensleeappetit so I can see your creations and share them in stories and the newsletter!
Follow Queenslee Appétit
Like what you see? Follow for more recipes and baking inspiration.
Let’s get baking!
BON APPÉTIT!
Love, Dedra
All images and content are copyright protected. Please do not use images without permission. If republishing this recipe, rewrite it in your own words or link back to the original post.